
What you can do
Once connected, your AI client can answer questions about everything you can see in the web app: your schedule, your hours, the team’s schedule for your locations, time-off requests, and messages. Read tools answer immediately.Your MCP connection has the same access as your account in Begin. It can’t do anything you can’t
already do in the web app — if you don’t have permission for something, you’ll see a clear
“Permission denied” response.
Example prompts
Check your next shift.
Total your hours for the week.
See who's working with you.
Review your time-off requests.
Plan your week.
Connect Claude
The path is the same on Claude on the web (claude.ai) and Claude Desktop.Sign in to Begin
Claude opens a browser tab. Use your normal sign-in method: phone OTP, email OTP, passkey, or
Google.
Connect Claude Code
If you use Claude Code in your terminal, register Begin as a remote MCP server with one command./mcp inside Claude Code to authenticate. Claude Code opens a browser window to sign in to Begin and approve the connection. Subsequent sessions reuse the cached token.
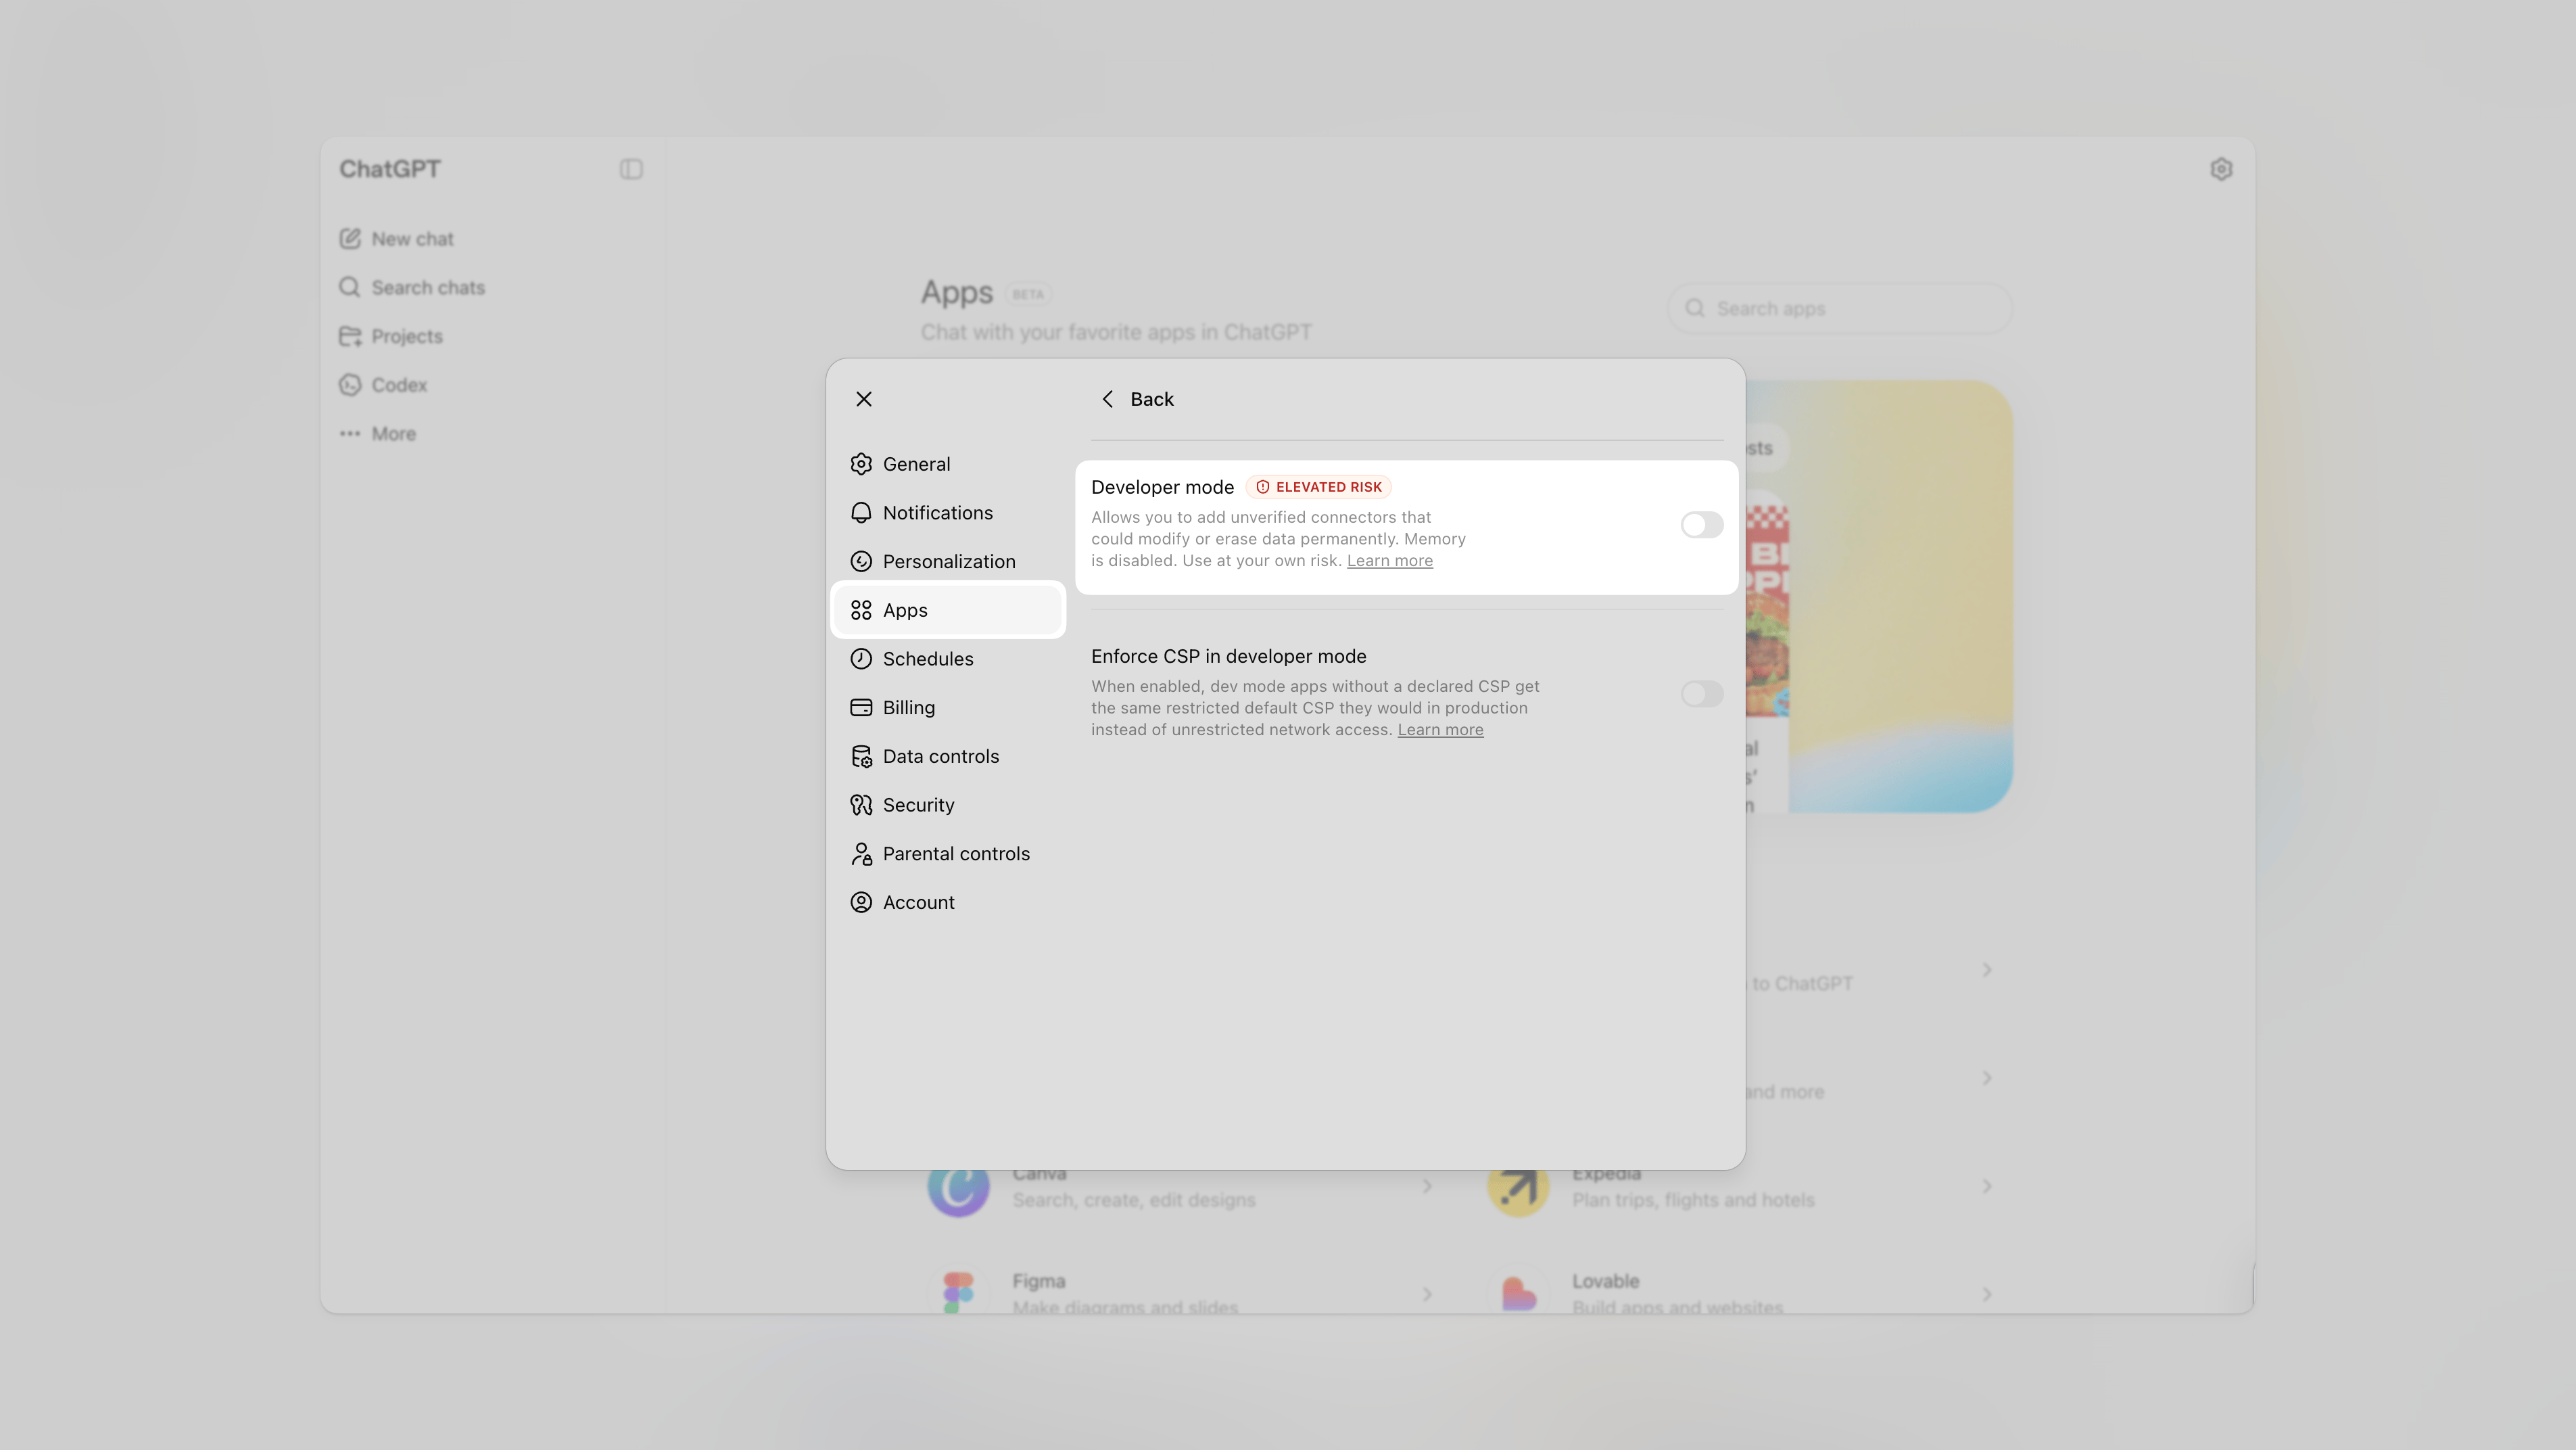
Connect ChatGPT
ChatGPT requires turning on Developer mode before you can create an app.Open Advanced settings
In ChatGPT, click your profile picture and go to Settings → Apps → Advanced settings.
Enter the connector details
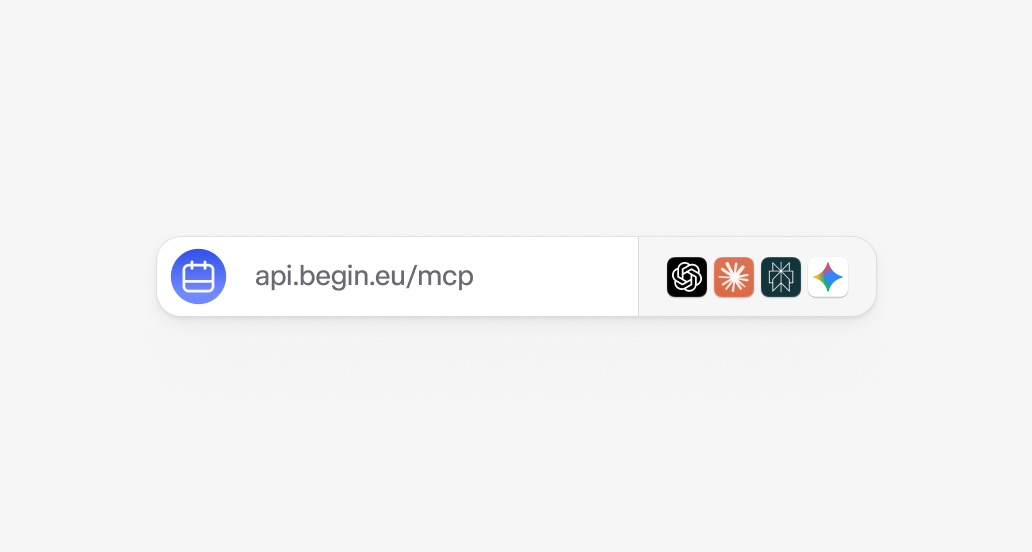
Use 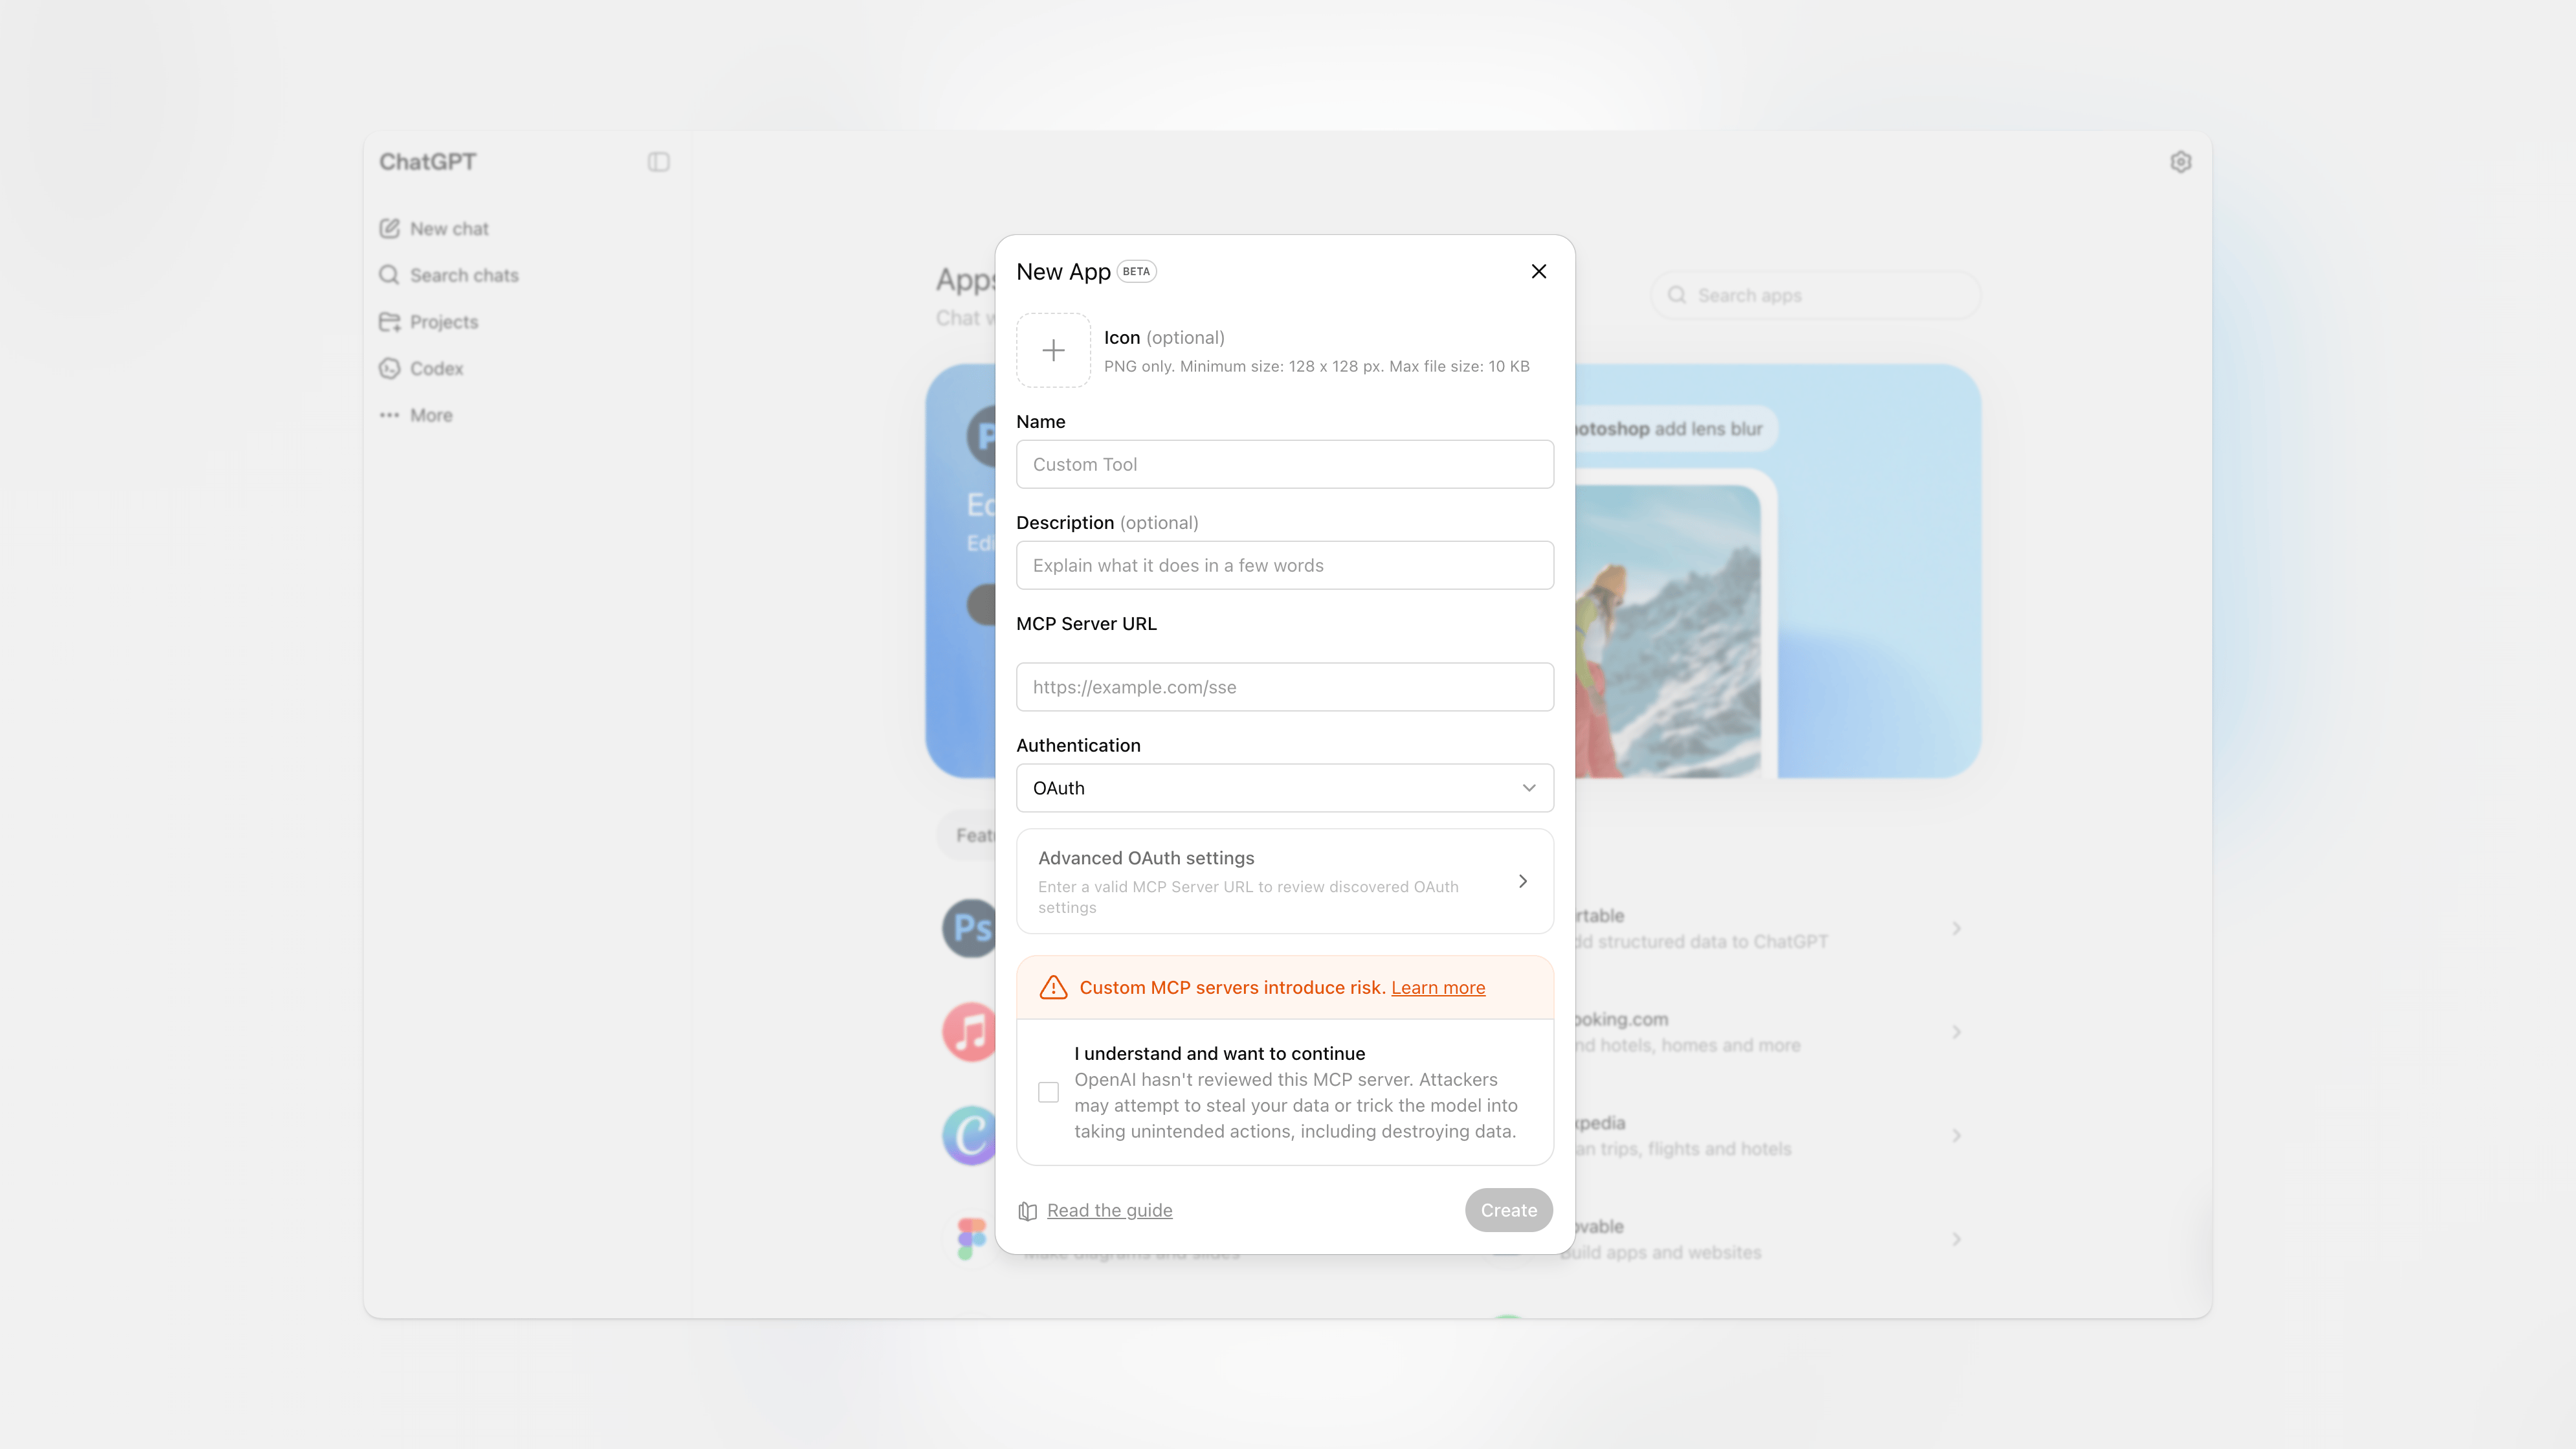
https://api.begin.eu/mcp as the MCP server URL, plus a name and short description.Custom apps are available on ChatGPT Pro, Plus, Business, Enterprise, and Education. They aren’t
available on Free. On Business, Enterprise, and Education, your workspace admin needs to enable
Developer mode for you.
Workspace pinning
If you belong to more than one Begin workspace, your MCP connection is pinned to whichever workspace is active the first time your client uses the connection. Once pinned, switching workspace in the web app does not change the workspace your MCP client uses. To switch:Revoke the existing connection
In Settings → Security → Connected MCP clients, revoke the current pin.
Manage connected clients
Settings → Security → Connected MCP clients shows every MCP client you’ve authorized, the workspace each is pinned to, and when each was last active. Revoke a client anytime.Permissions and security
- Your MCP connection has the same permissions as your account. Never more.
- Connections are scoped to one workspace at a time.
- Tokens are short-lived (1 hour) with refresh-token rotation; clients refresh them silently.
- Every action is written to the workspace audit log under your name.