


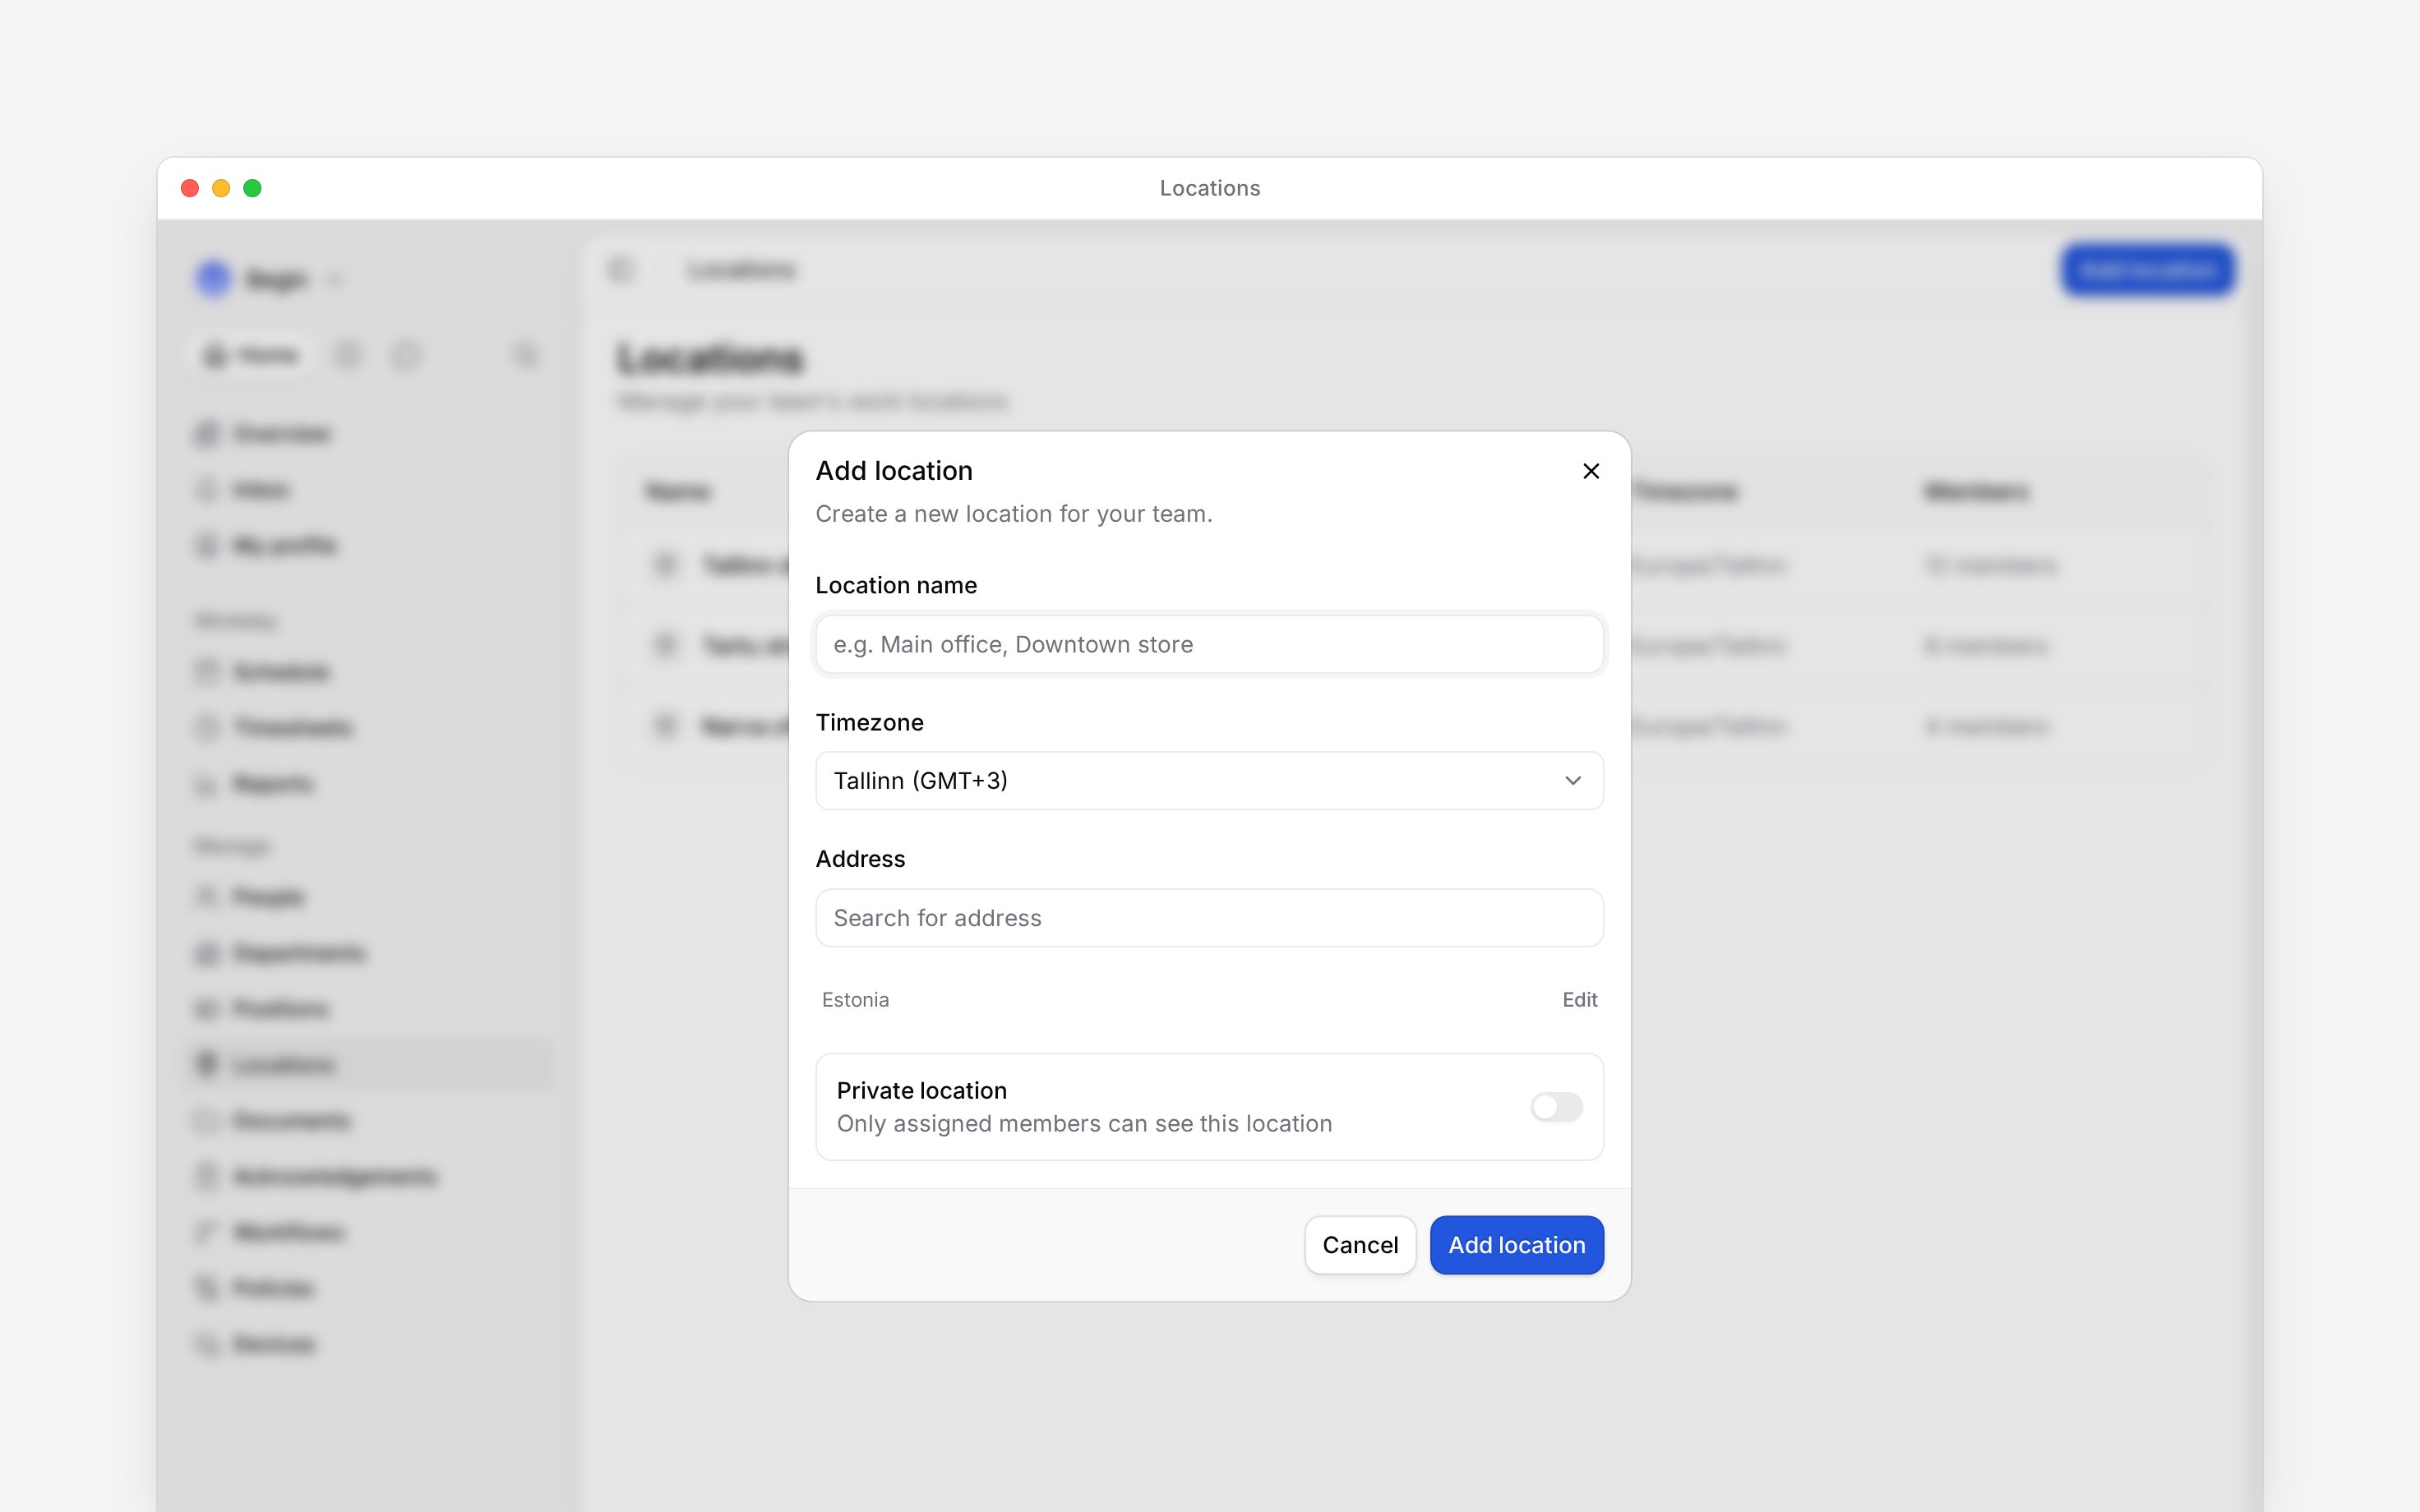
 Create one location for each site you want to assign people or shifts to. You need a name and a timezone; the address is optional.
Add the site
1
Open Locations
Click Add location.
2
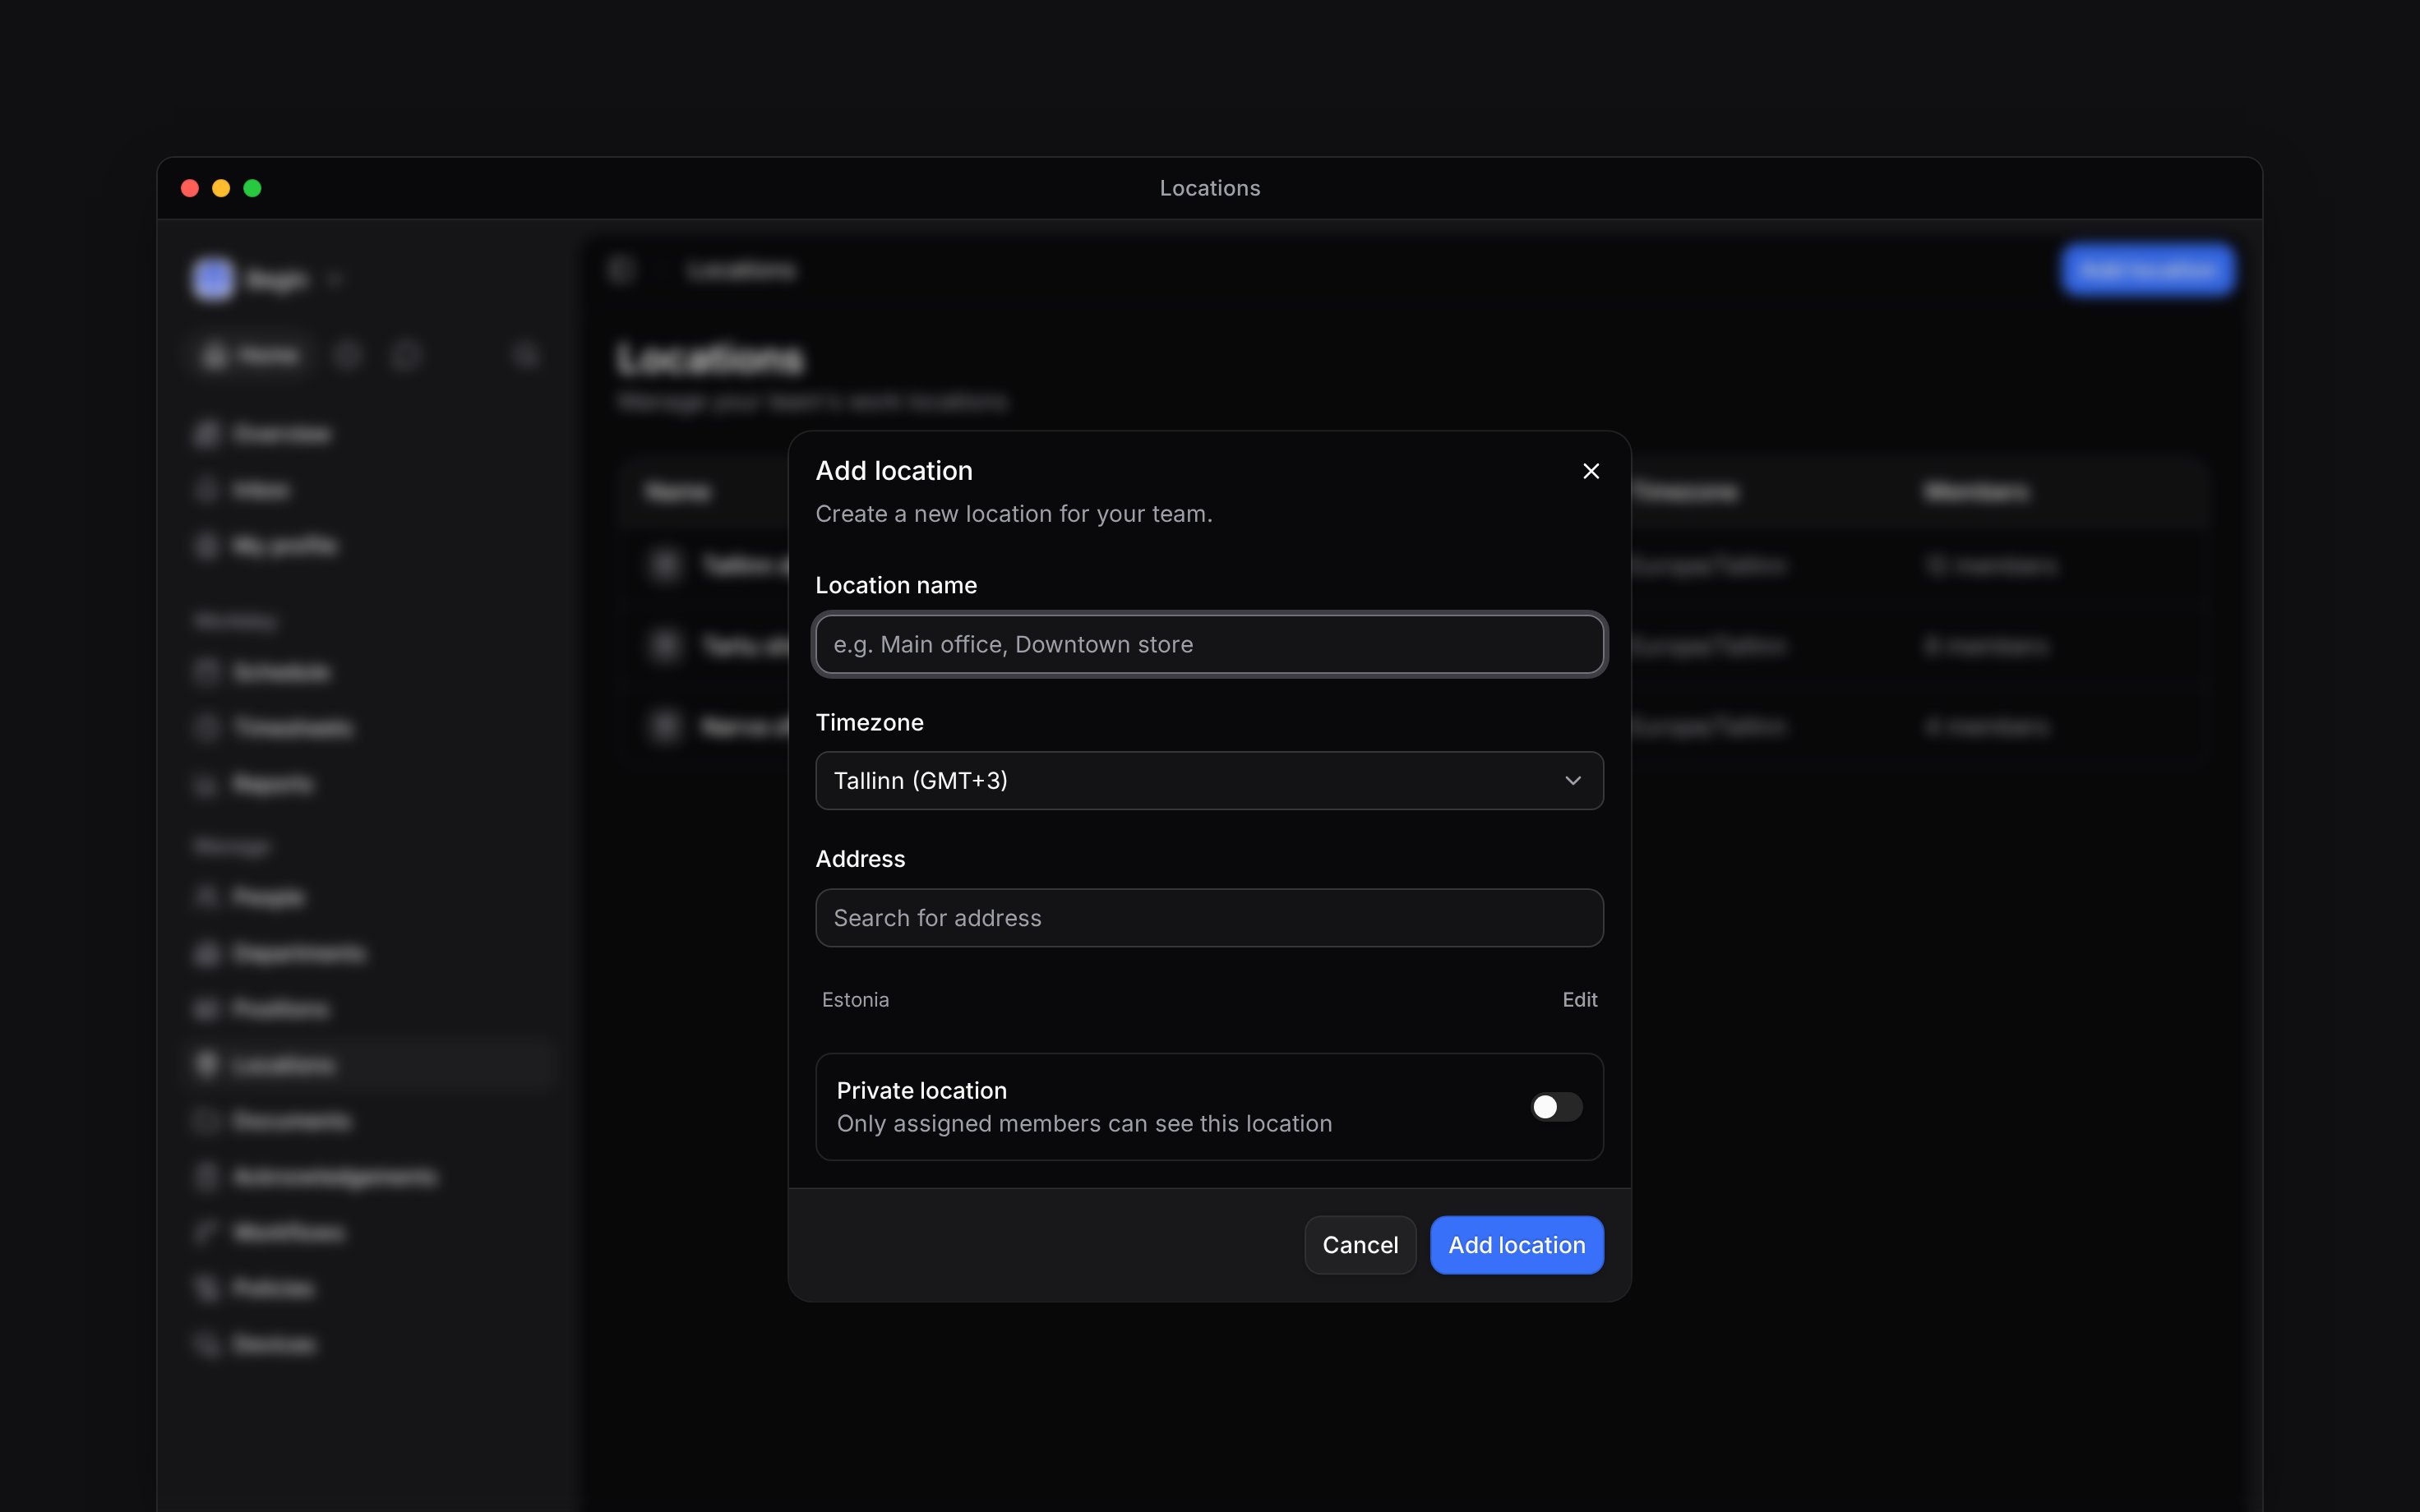
Name the place and check its timezone
Choose a name your team recognises. Timezone starts with your browser’s timezone, which may
differ from the site’s.
3
Enter its address
Choose an address suggestion when one is available, or type the address yourself. Use Add or
Edit on the row below the address to check the city, State / Province, postcode and
country.
4
Add location
The site appears in Locations. You can open its row to edit the details later.
Put the pin in the right place
When the map appears beneath the address, check that the pin marks the place where your team works. Move it if the address points to the wrong entrance or part of the site. An address typed as text is not proof that the map coordinates are correct. The pin is the point a clocking policy measures a clock-in from. A site with no pin is never checked: a person can clock in anywhere and the timesheet shows no distance. The rules live in Policies → Clocking; adding an address does not turn them on. Every plan records the distance. Blocking or flagging a punch made outside the workplace is included in the Pro plan; see Clocking restrictions. If your workspace offers Create a channel, you can give the site its own conversation. Location channels explains availability and the Messages add-on requirement.Give the site a team
Your new location has no people or shifts until you assign them. Assign people, then plan its shifts. You can also open Begin AI with Cmd/Ctrl + J and ask it to prepare a location for you:Create a location called Tallinn depot with timezone Europe/Tallinn.
Next
Assigning people
Add the people who work at this site.
Location channels
Set up the site’s conversation.
Still need help?
Contact support
Email the Begin team and we’ll get back to you.
Ask Begin AI
Open the AI assistant and get instant answers based on these docs.