


 A location channel gives a site its own conversation in Messages. It can keep channel membership in step with the people assigned to that location.
Give a site a channel
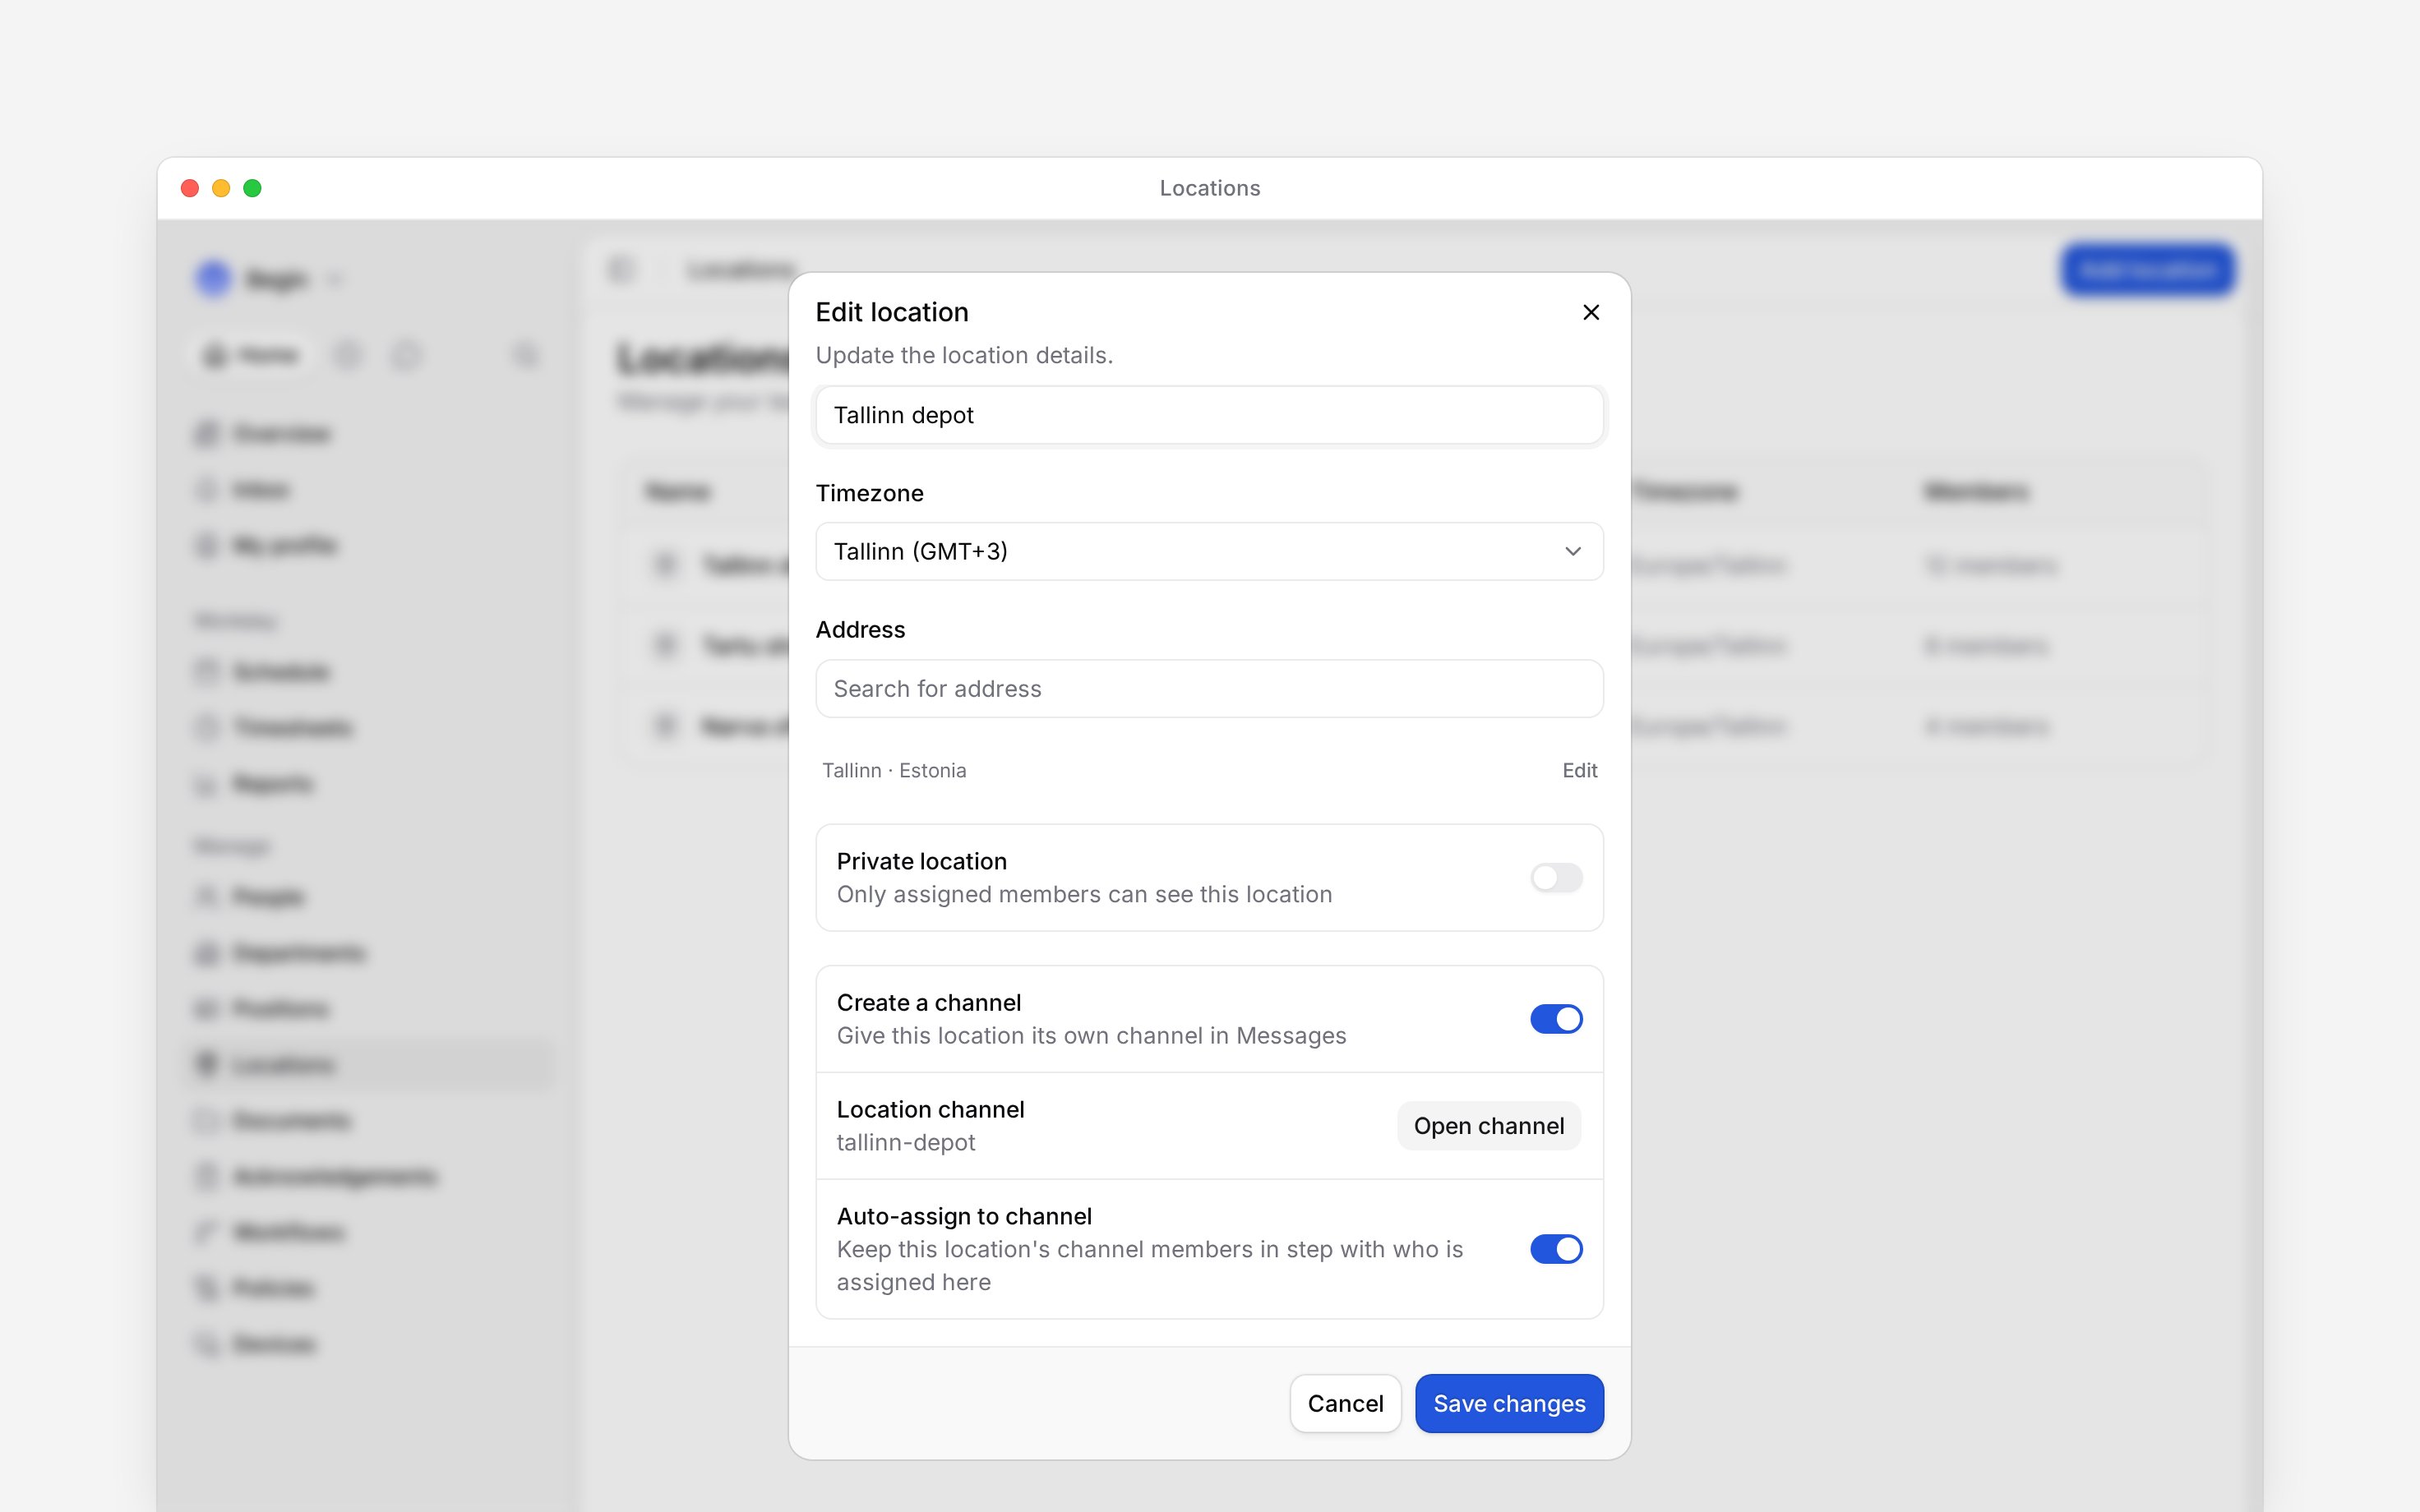
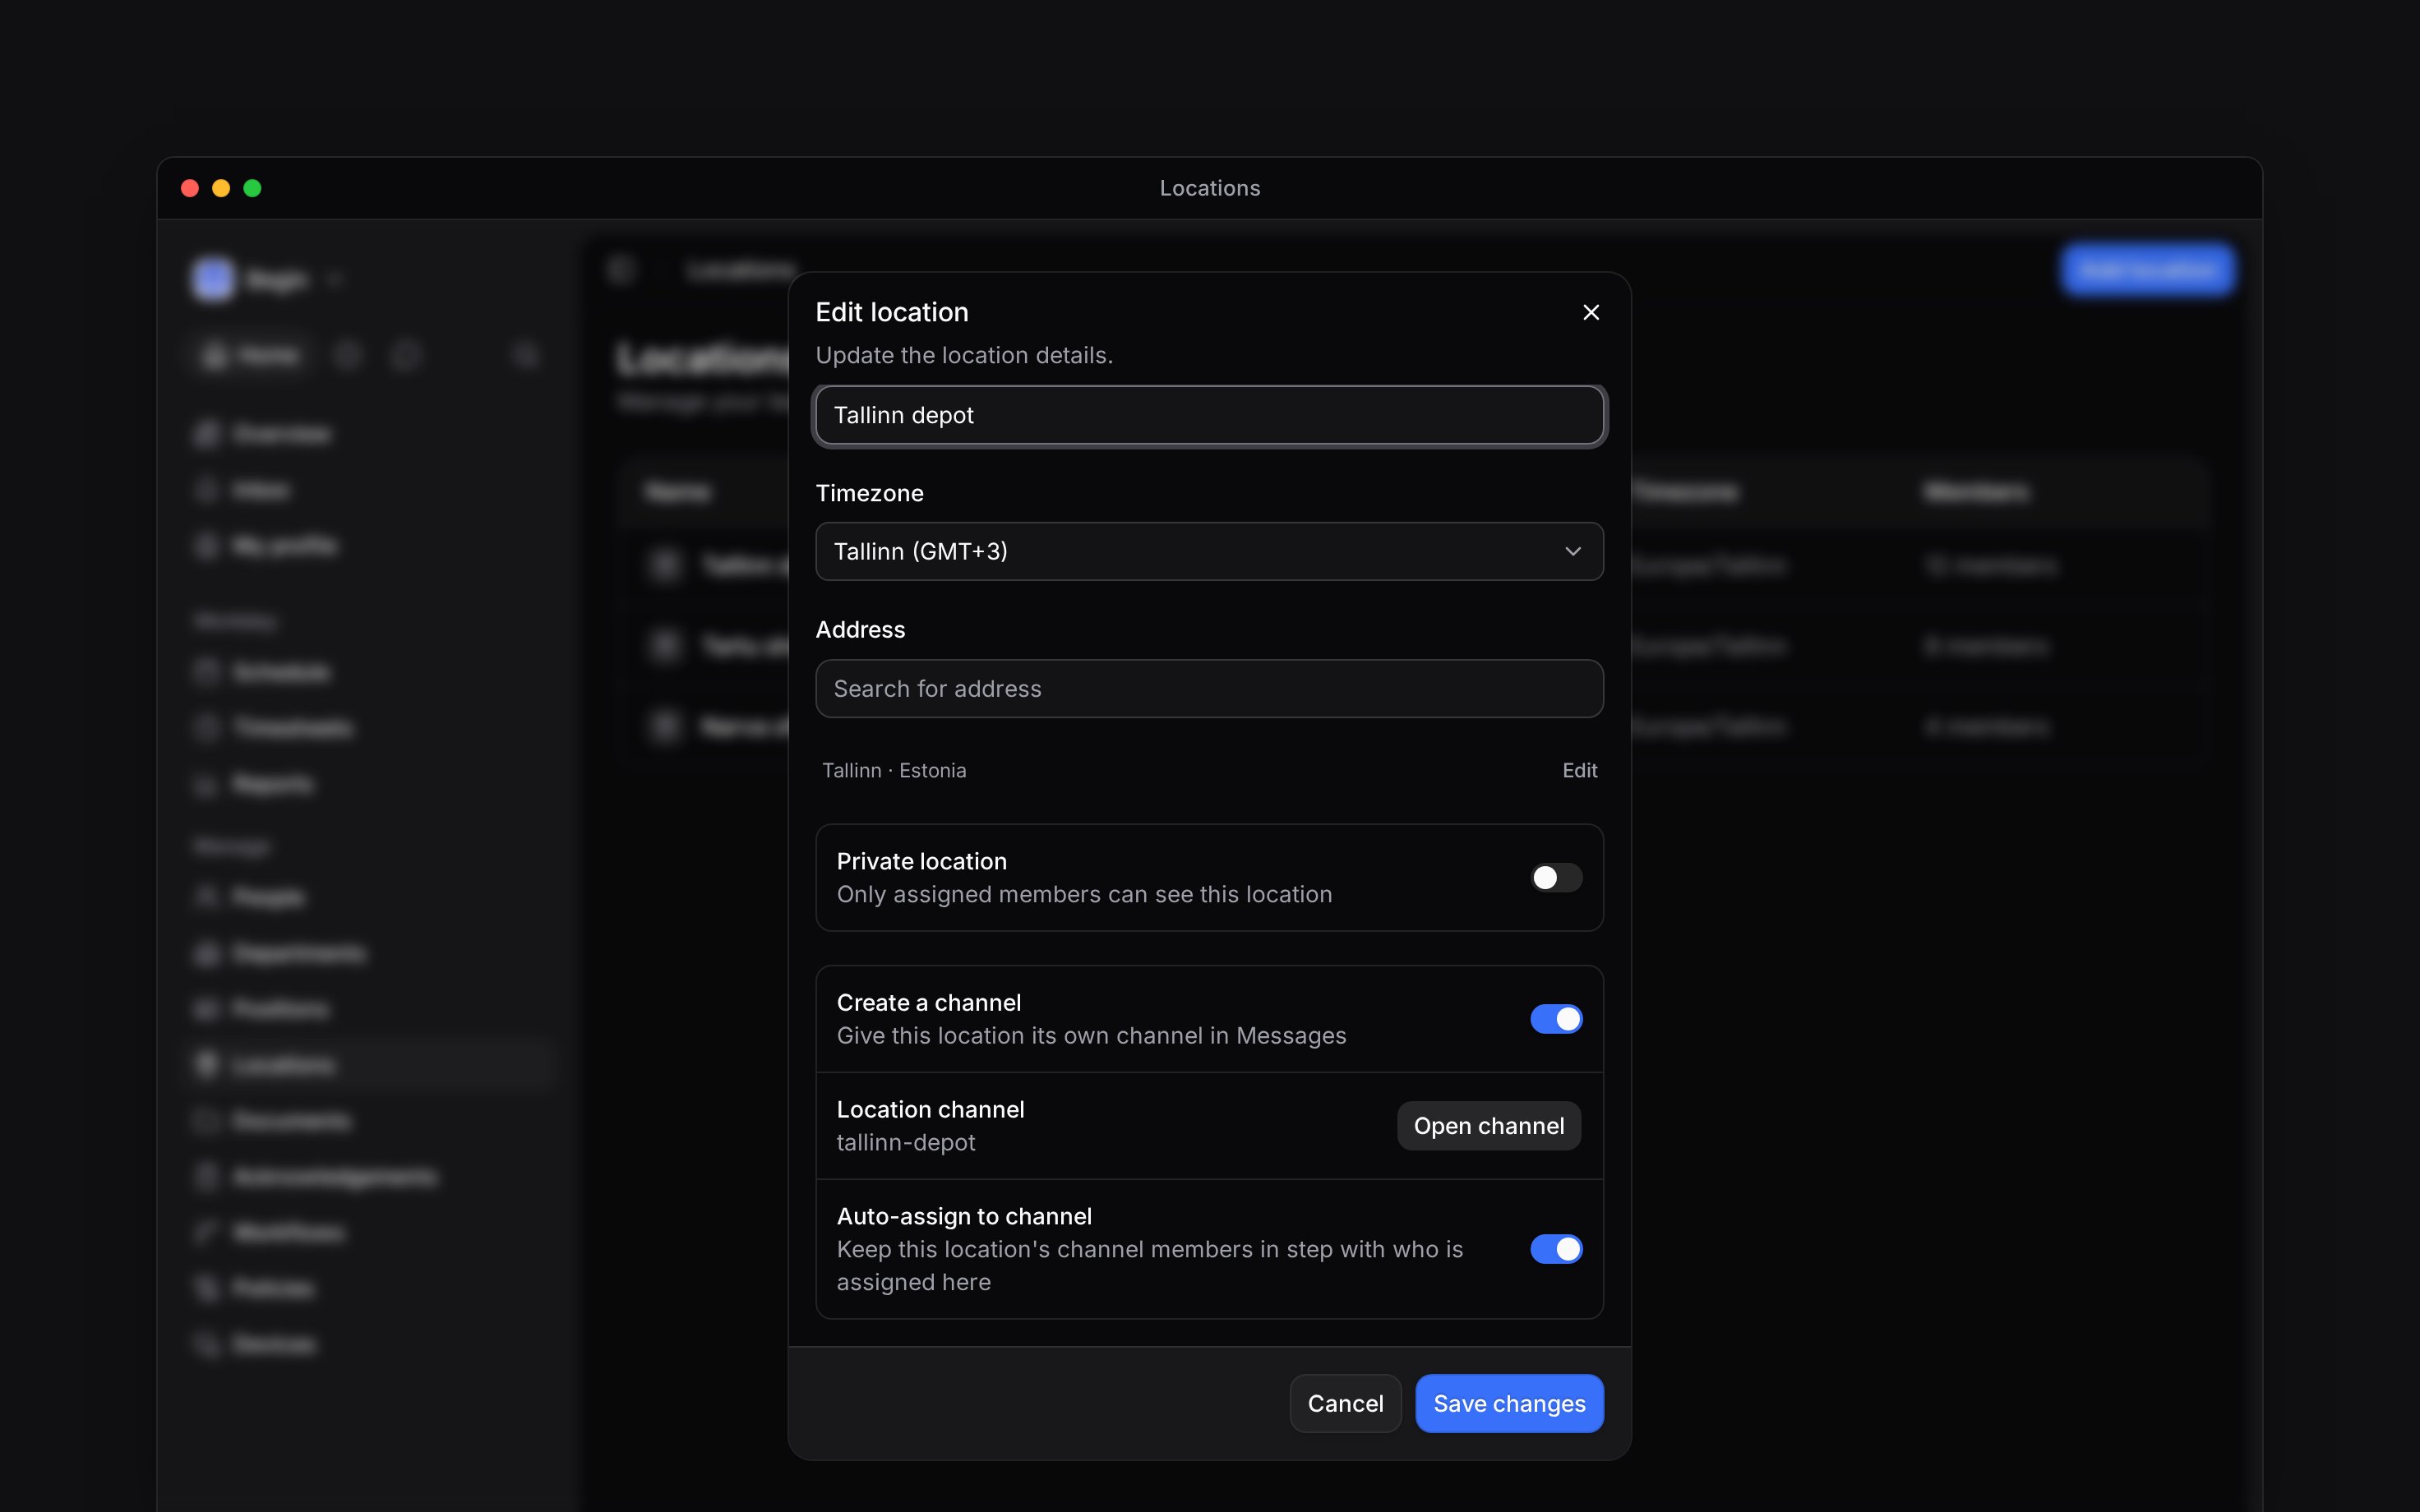
For a new location, leave Create a channel on before saving. Turn it off if this site does not need a conversation. For a location that already exists:1
Open the location
Go to Locations and open its row.
2
Create its channel
Under Location channel, click Create channel. This creates the channel immediately.
3
Open the conversation
Click Open channel to go to it in Messages.
Keep the right people in it
Auto-assign to channel starts on for new locations. With it on, people assigned to the location join its active channel, and removing their location assignment removes their channel membership. The channel owner remains in the channel. Turn auto-assignment off and save if you want to manage membership yourself. Existing channel members stay; later location assignments no longer update the channel roster. Turning it back on adds any assigned people who are missing from the channel. It does not remove extra members, so check those yourself.Put a channel away or bring it back
Turn Create a channel off in the location editor and save to archive the channel. Its conversation is kept. Turn it on again and save to restore the same channel; automatic membership catches up if enabled. Renaming a location also updates its channel name. The channel name uses a message-friendly version of the location name, so spaces can become hyphens. Changing the location’s private setting also updates the linked channel’s privacy. Deleting the location archives its channel. It does not delete the conversation.Next
Assigning people
Choose who belongs to the site.
Managing locations
Understand edits and deletion.
Still need help?
Contact support
Email the Begin team and we’ll get back to you.
Ask Begin AI
Open the AI assistant and get instant answers based on these docs.