


 Use a channel’s member list to add individuals or keep a whole department together. A saved department or role selection can keep membership up to date after the channel has been created.
Add the right people
1
Open the member list
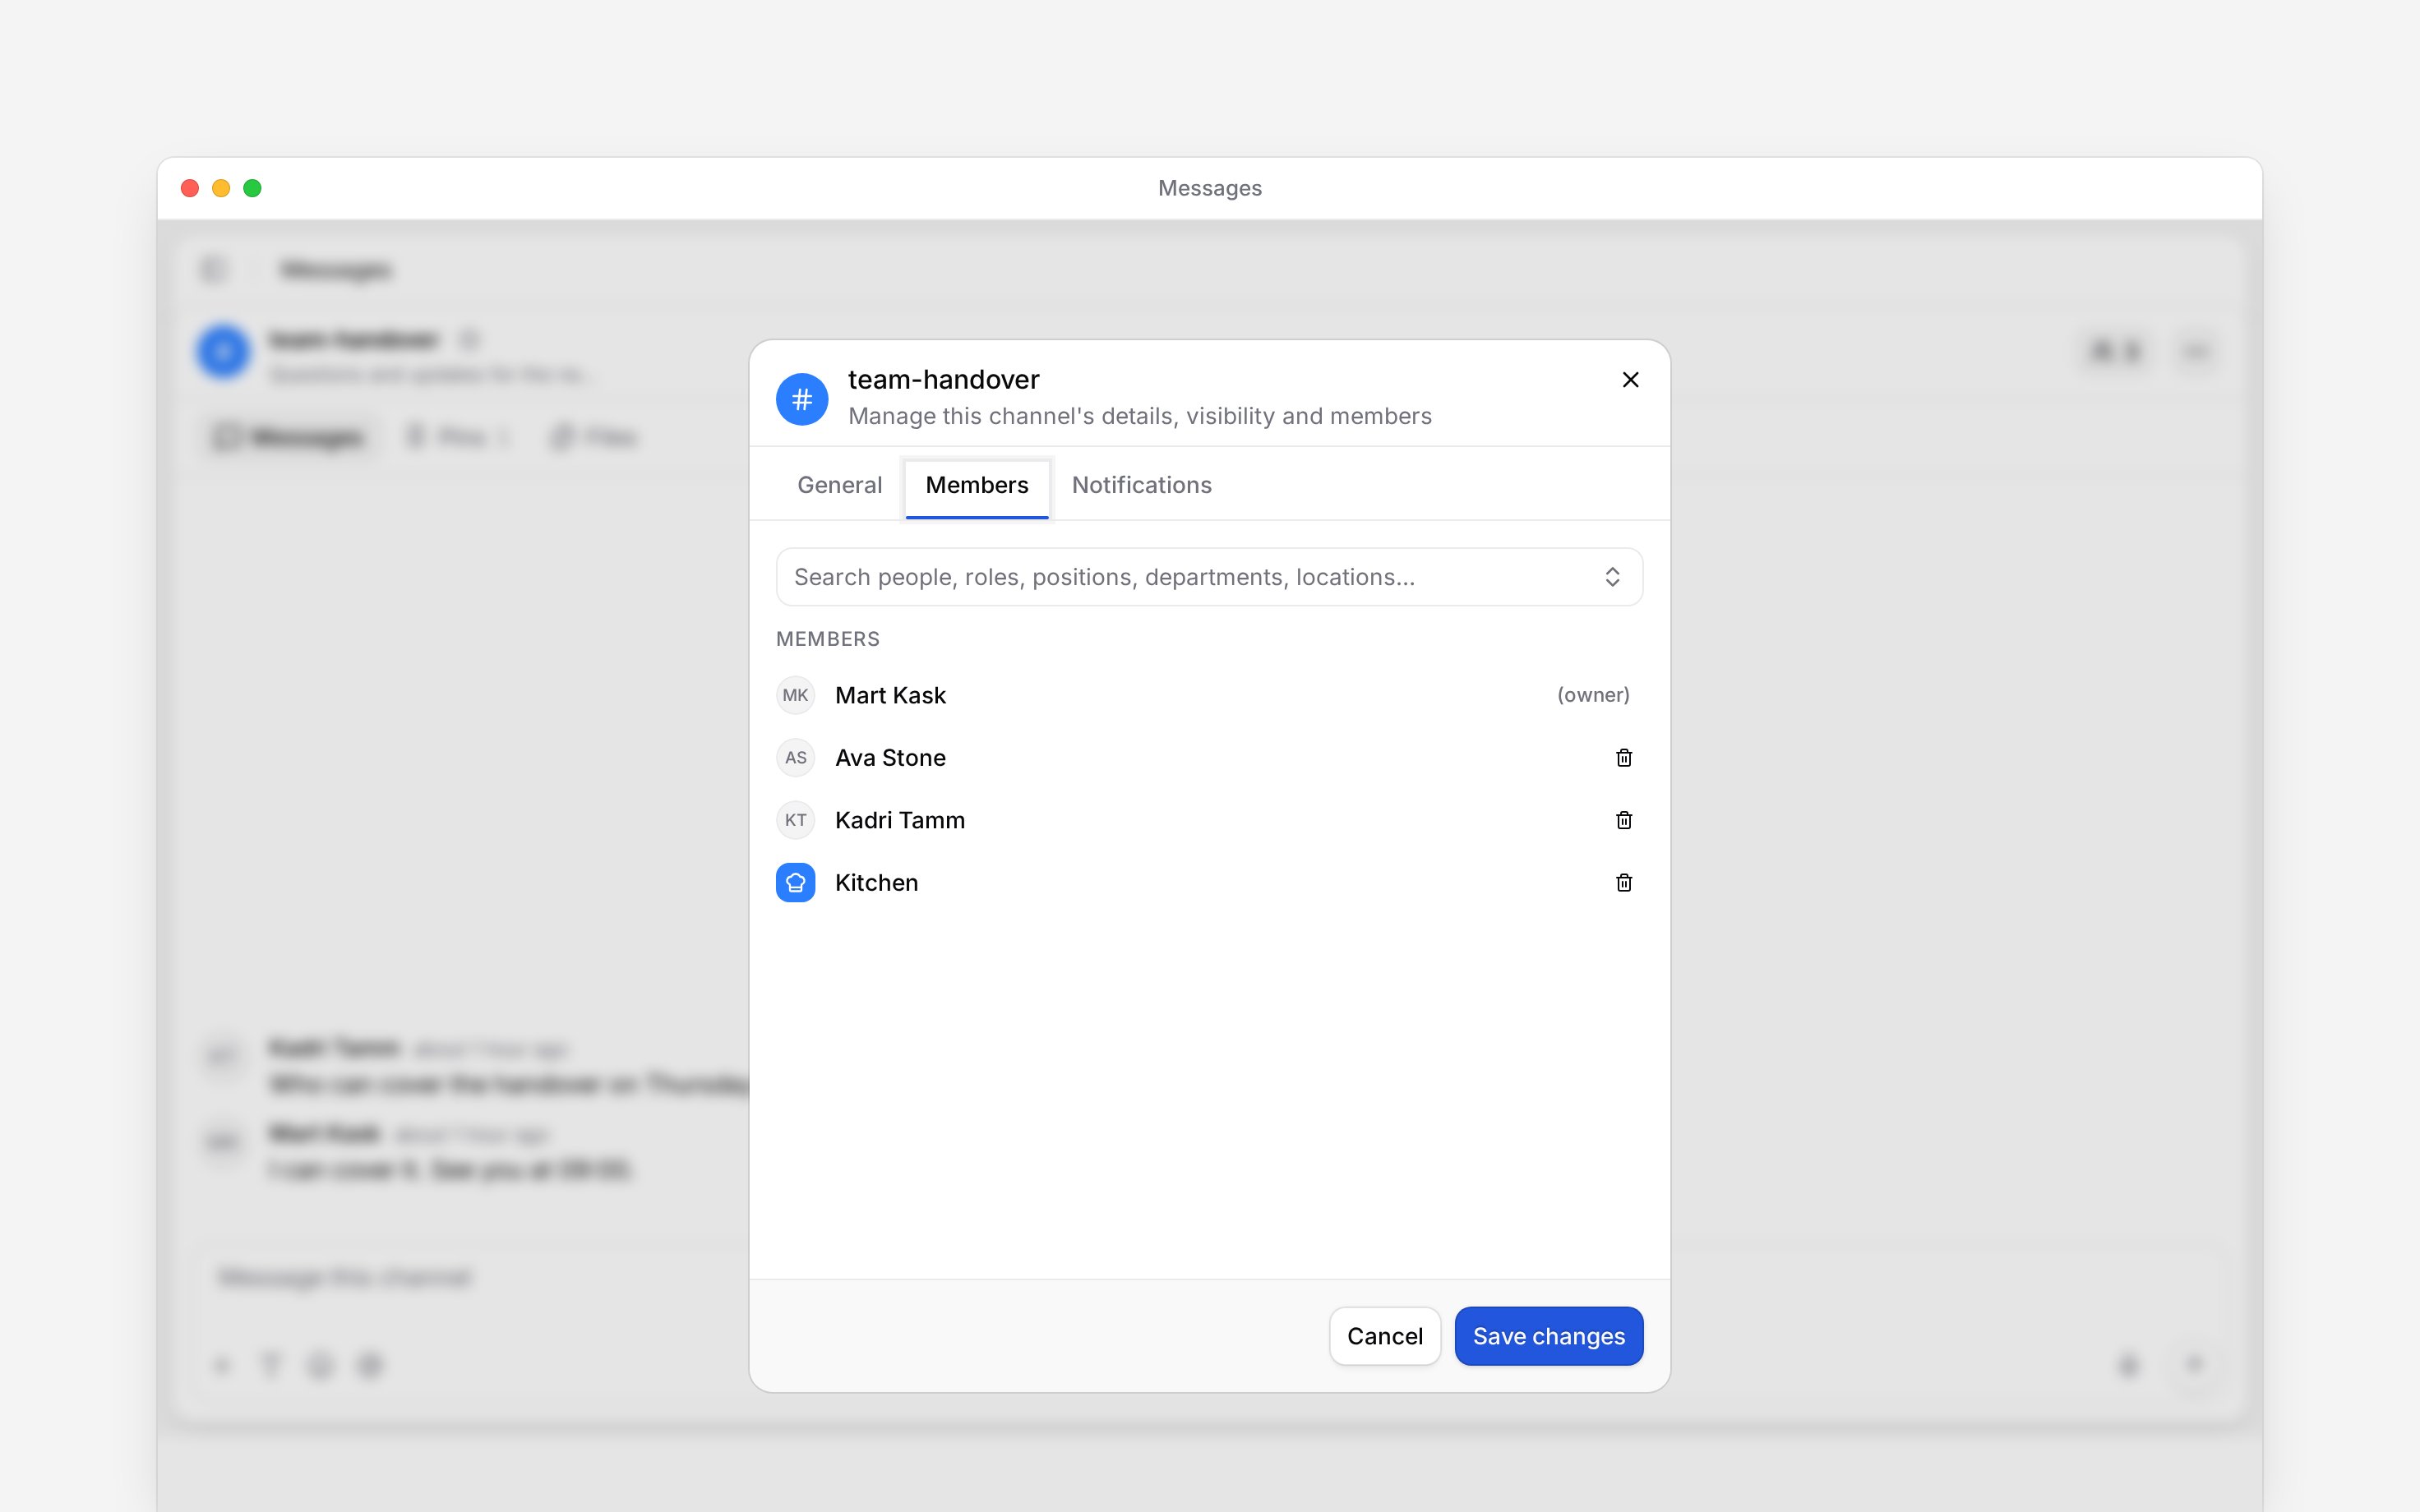
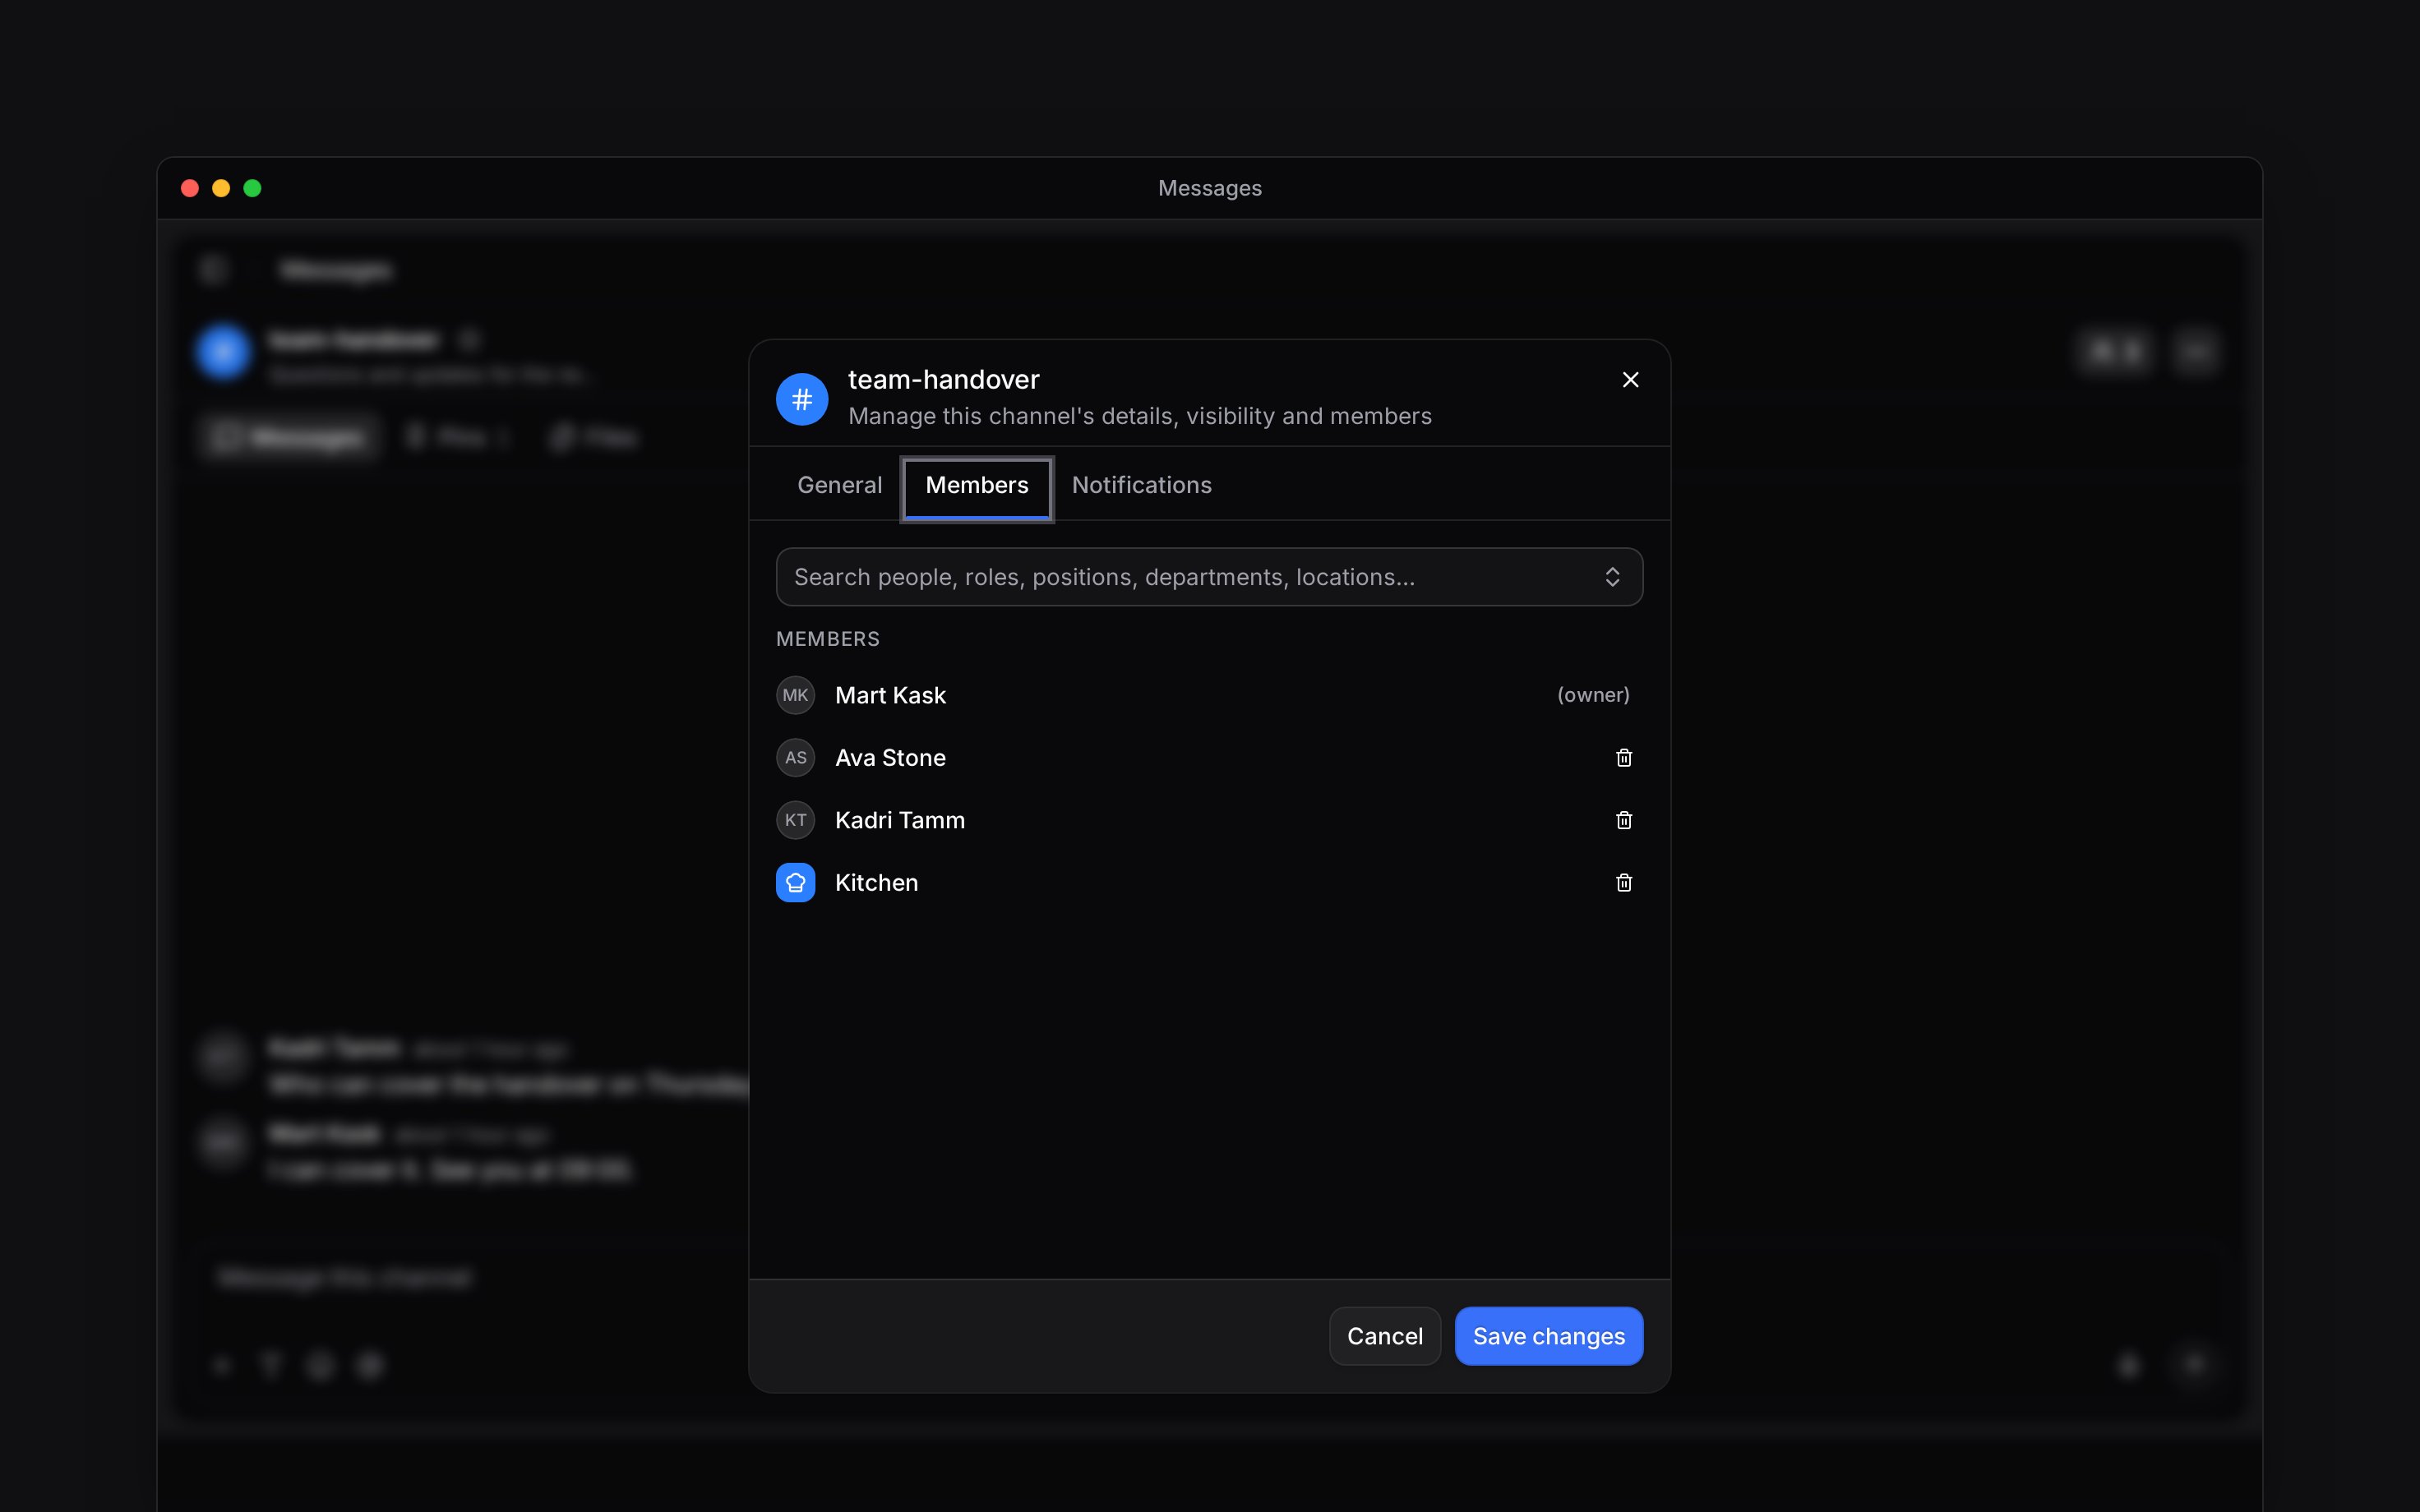
Open the channel and click the people count in its header. The Members tab opens. On a
phone, open the channel’s three-dot menu and choose View members.
2
Choose people or a selection
Search by person, role, position, department or location. Use Everyone in the workspace when
the whole team should join; while it is on, people show as Included and cannot be left out
one by one. The list stays open while you tick several choices; press Esc or click outside it
when you are done.
3
Check the selection
Remove anyone who should not be included, then click Save changes. To leave somebody out
while Everyone in the workspace is on, turn it off first. Closing without saving does not
apply the changes.
Decide whether membership should follow the team
A saved role, position, department or location selection follows changes to those assignments. Someone matching any saved selection belongs to the channel; they do not need to match them all. People added individually are not removed merely because they stop matching a selection. Explicit exclusions keep a person out of the saved filter. Everyone working today is different. It adds people whose published shift or clock-in overlaps today, once. It does not keep adding people as the schedule changes. Check the selected people before saving.Use a location’s own channel
In the location editor, Create channel gives an existing location a channel; this also needs the workspace’s Messages add-on. Auto-assign to channel keeps its members in step with the people assigned to that location. The location’s name and privacy also carry over to its channel. An older location does not automatically gain a channel when the feature is enabled. Turning off the location’s channel archives it; deleting the location also archives its channel, preserving the conversation.Let Begin support join
The member picker’s Begin support option automatically includes people who have support access to your workspace. Use it only for a channel whose conversation you want that support team to read. Opening a private channel to Begin support requires channel administration rights. This choice is separate from making the channel public.Next
Channels
Create a channel for your team and choose who can read and join it.
Notifications
Choose which conversations notify you and when mobile alerts can reach you.
Still need help?
Contact support
Email the Begin team and we’ll get back to you.
Ask Begin AI
Open the AI assistant and get instant answers based on these docs.