


 Use a location filter when you are planning one site. Use location grouping when you want the schedule arranged by site. Neither changes where an existing shift takes place.
Focus on one site
1
Open Schedule
Go to the period you want to plan.
2
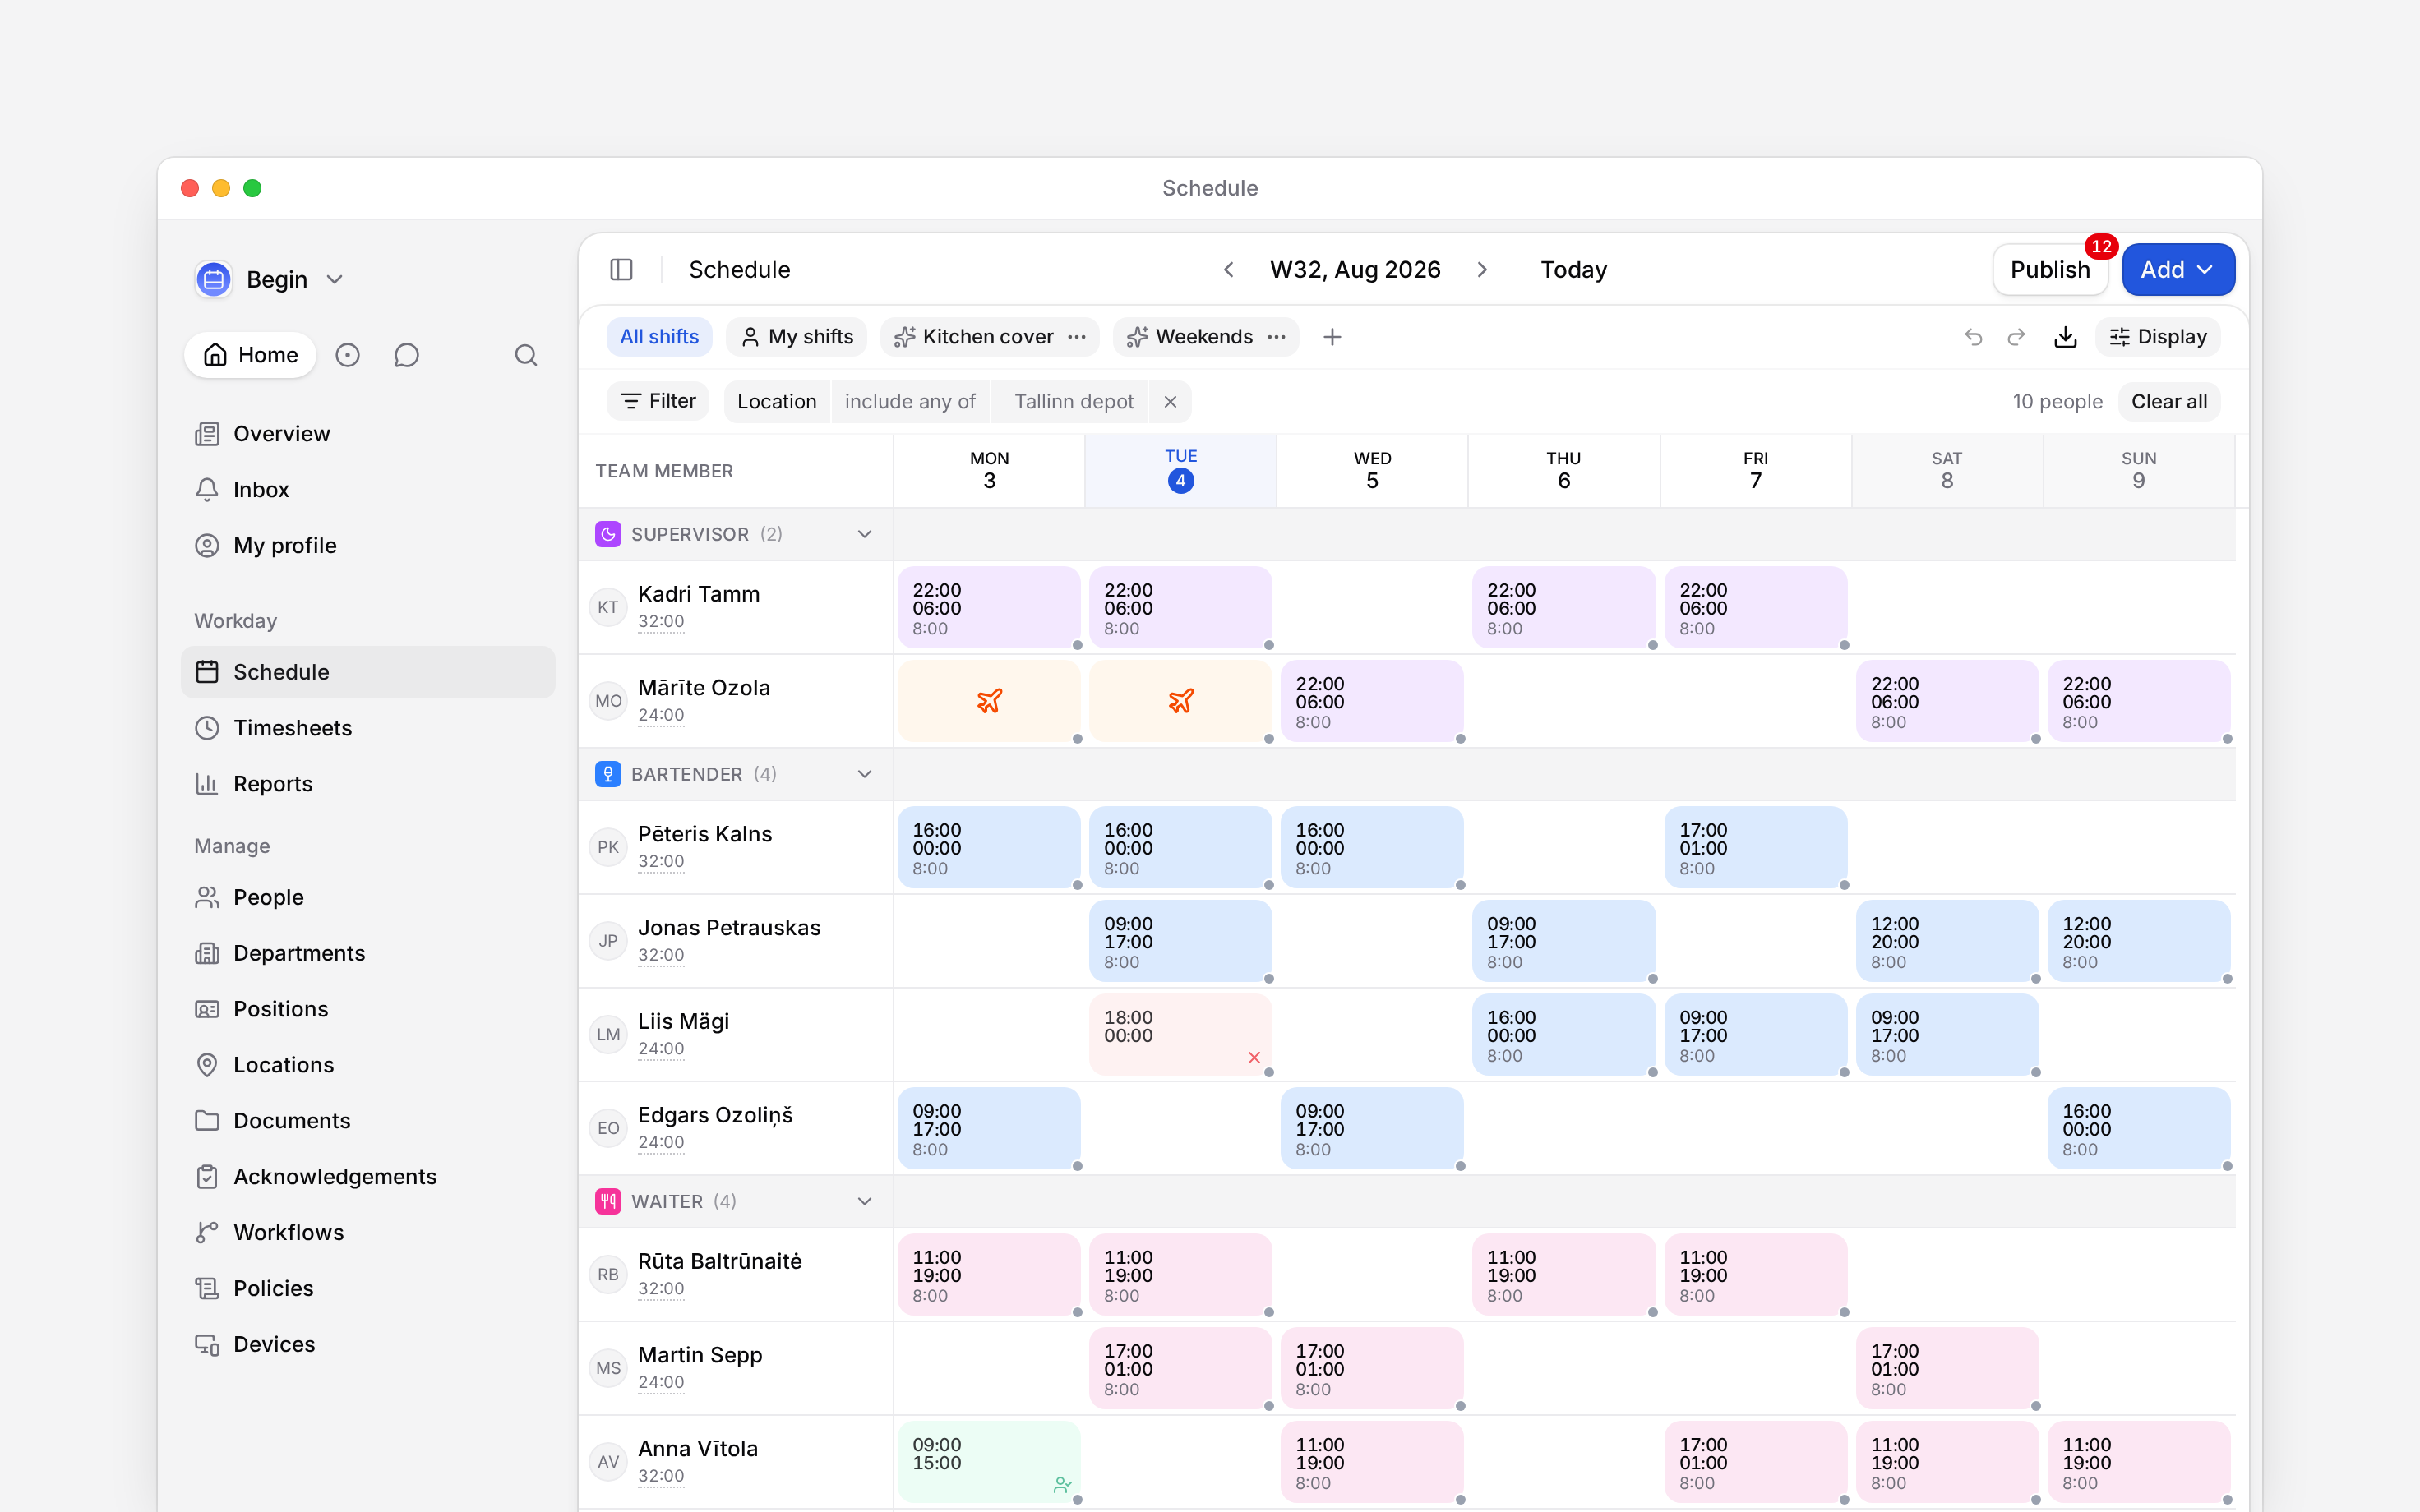
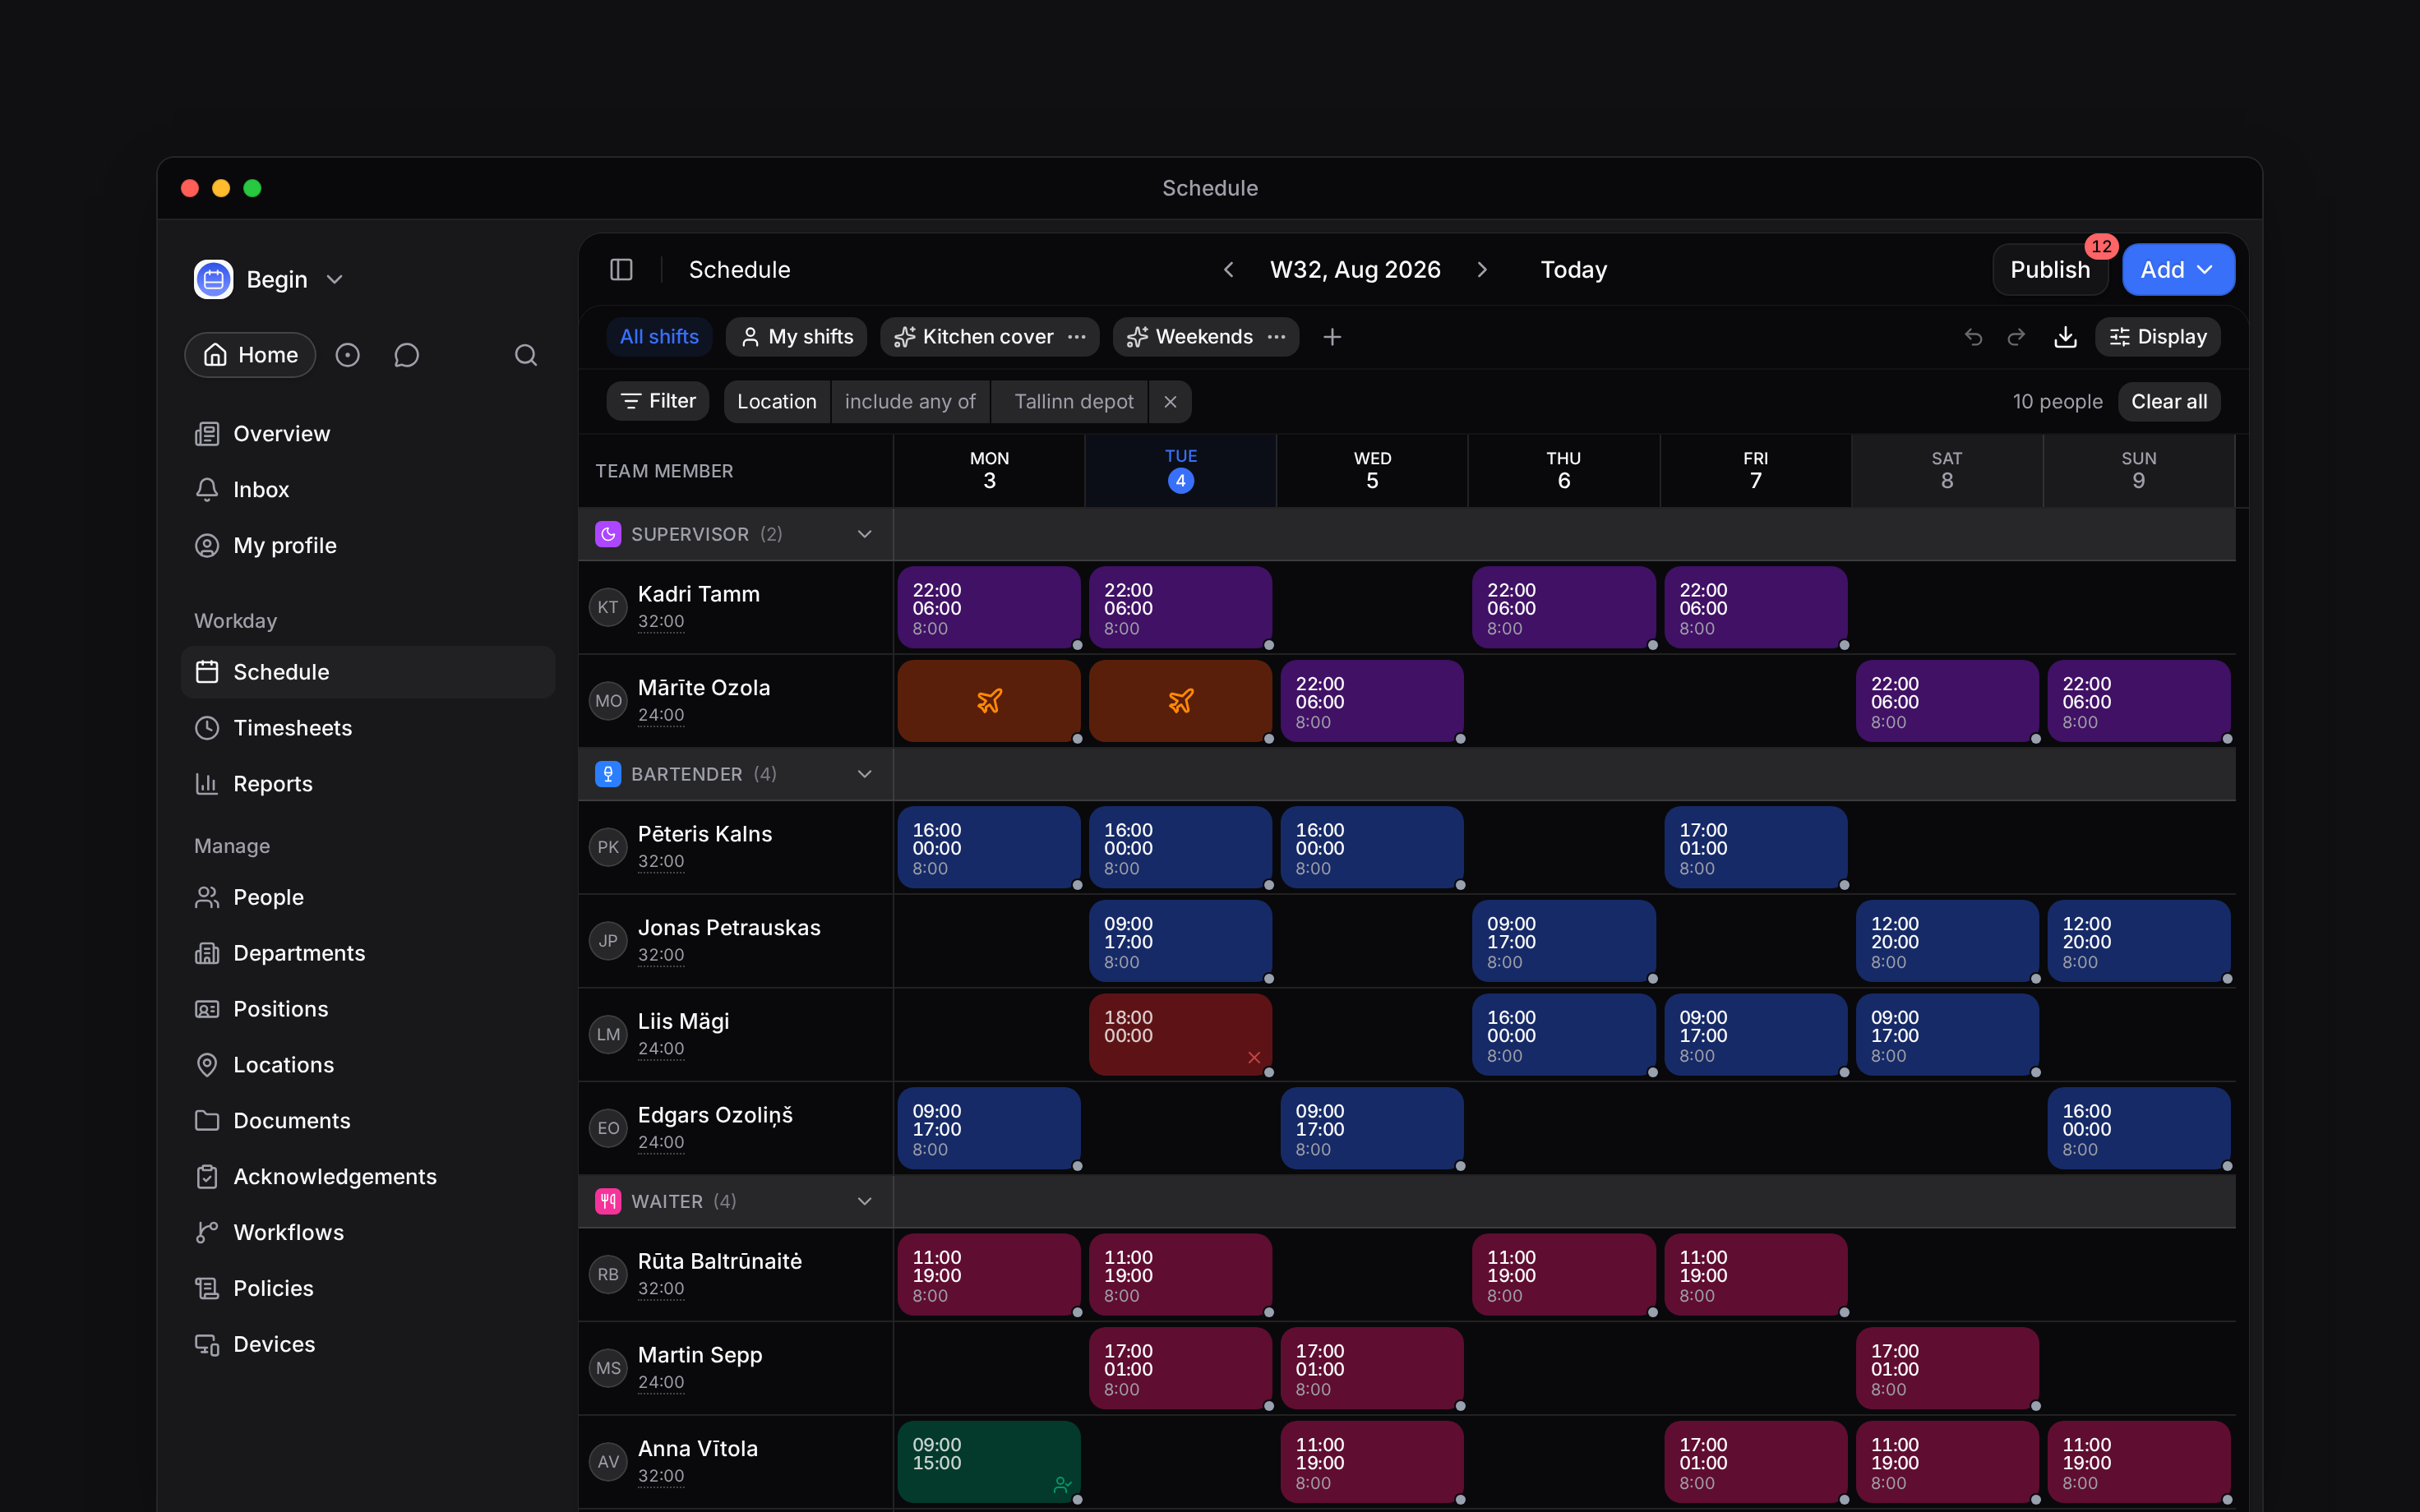
Choose Filter, then Location
Select the site you want to work on. The filter narrows the people shown and the shifts at that
site.
3
Check the remaining shifts
The location chip shows the filter in use. Remove it when you want to return to a wider
schedule.
Set where a shift happens
When you add or edit a shift, check Location under Classification. Creating a shift within a location group prefills that location. A person with exactly one assigned location can also have it filled in for them; check the value before saving. If your clocking policy checks distance, the check is made against this shift’s location, so a shift saved with the wrong site fails the check at the right one. Choosing a location on a shift does not replace the person’s assigned locations. A site filter also does not move shifts from another site into this one. Follow Creating shifts for the full procedure, including the assignee, times and required fields.Return to the same setup
Set your filter and grouping, then use the + at the end of the saved-view pills to save the setup. Give it a recognisable name, such asTallinn depot.
A saved view helps you return to that setup. It does not grant another person more access to the schedule. Filters and saved views explains sharing and additional filters.
Before publishing, check the count and breakdown in Publish. Follow Publishing for what goes out and who is notified.
Next
Creating shifts
Set the person, place and hours.
Publishing
Check what reaches your team.
Still need help?
Contact support
Email the Begin team and we’ll get back to you.
Ask Begin AI
Open the AI assistant and get instant answers based on these docs.