


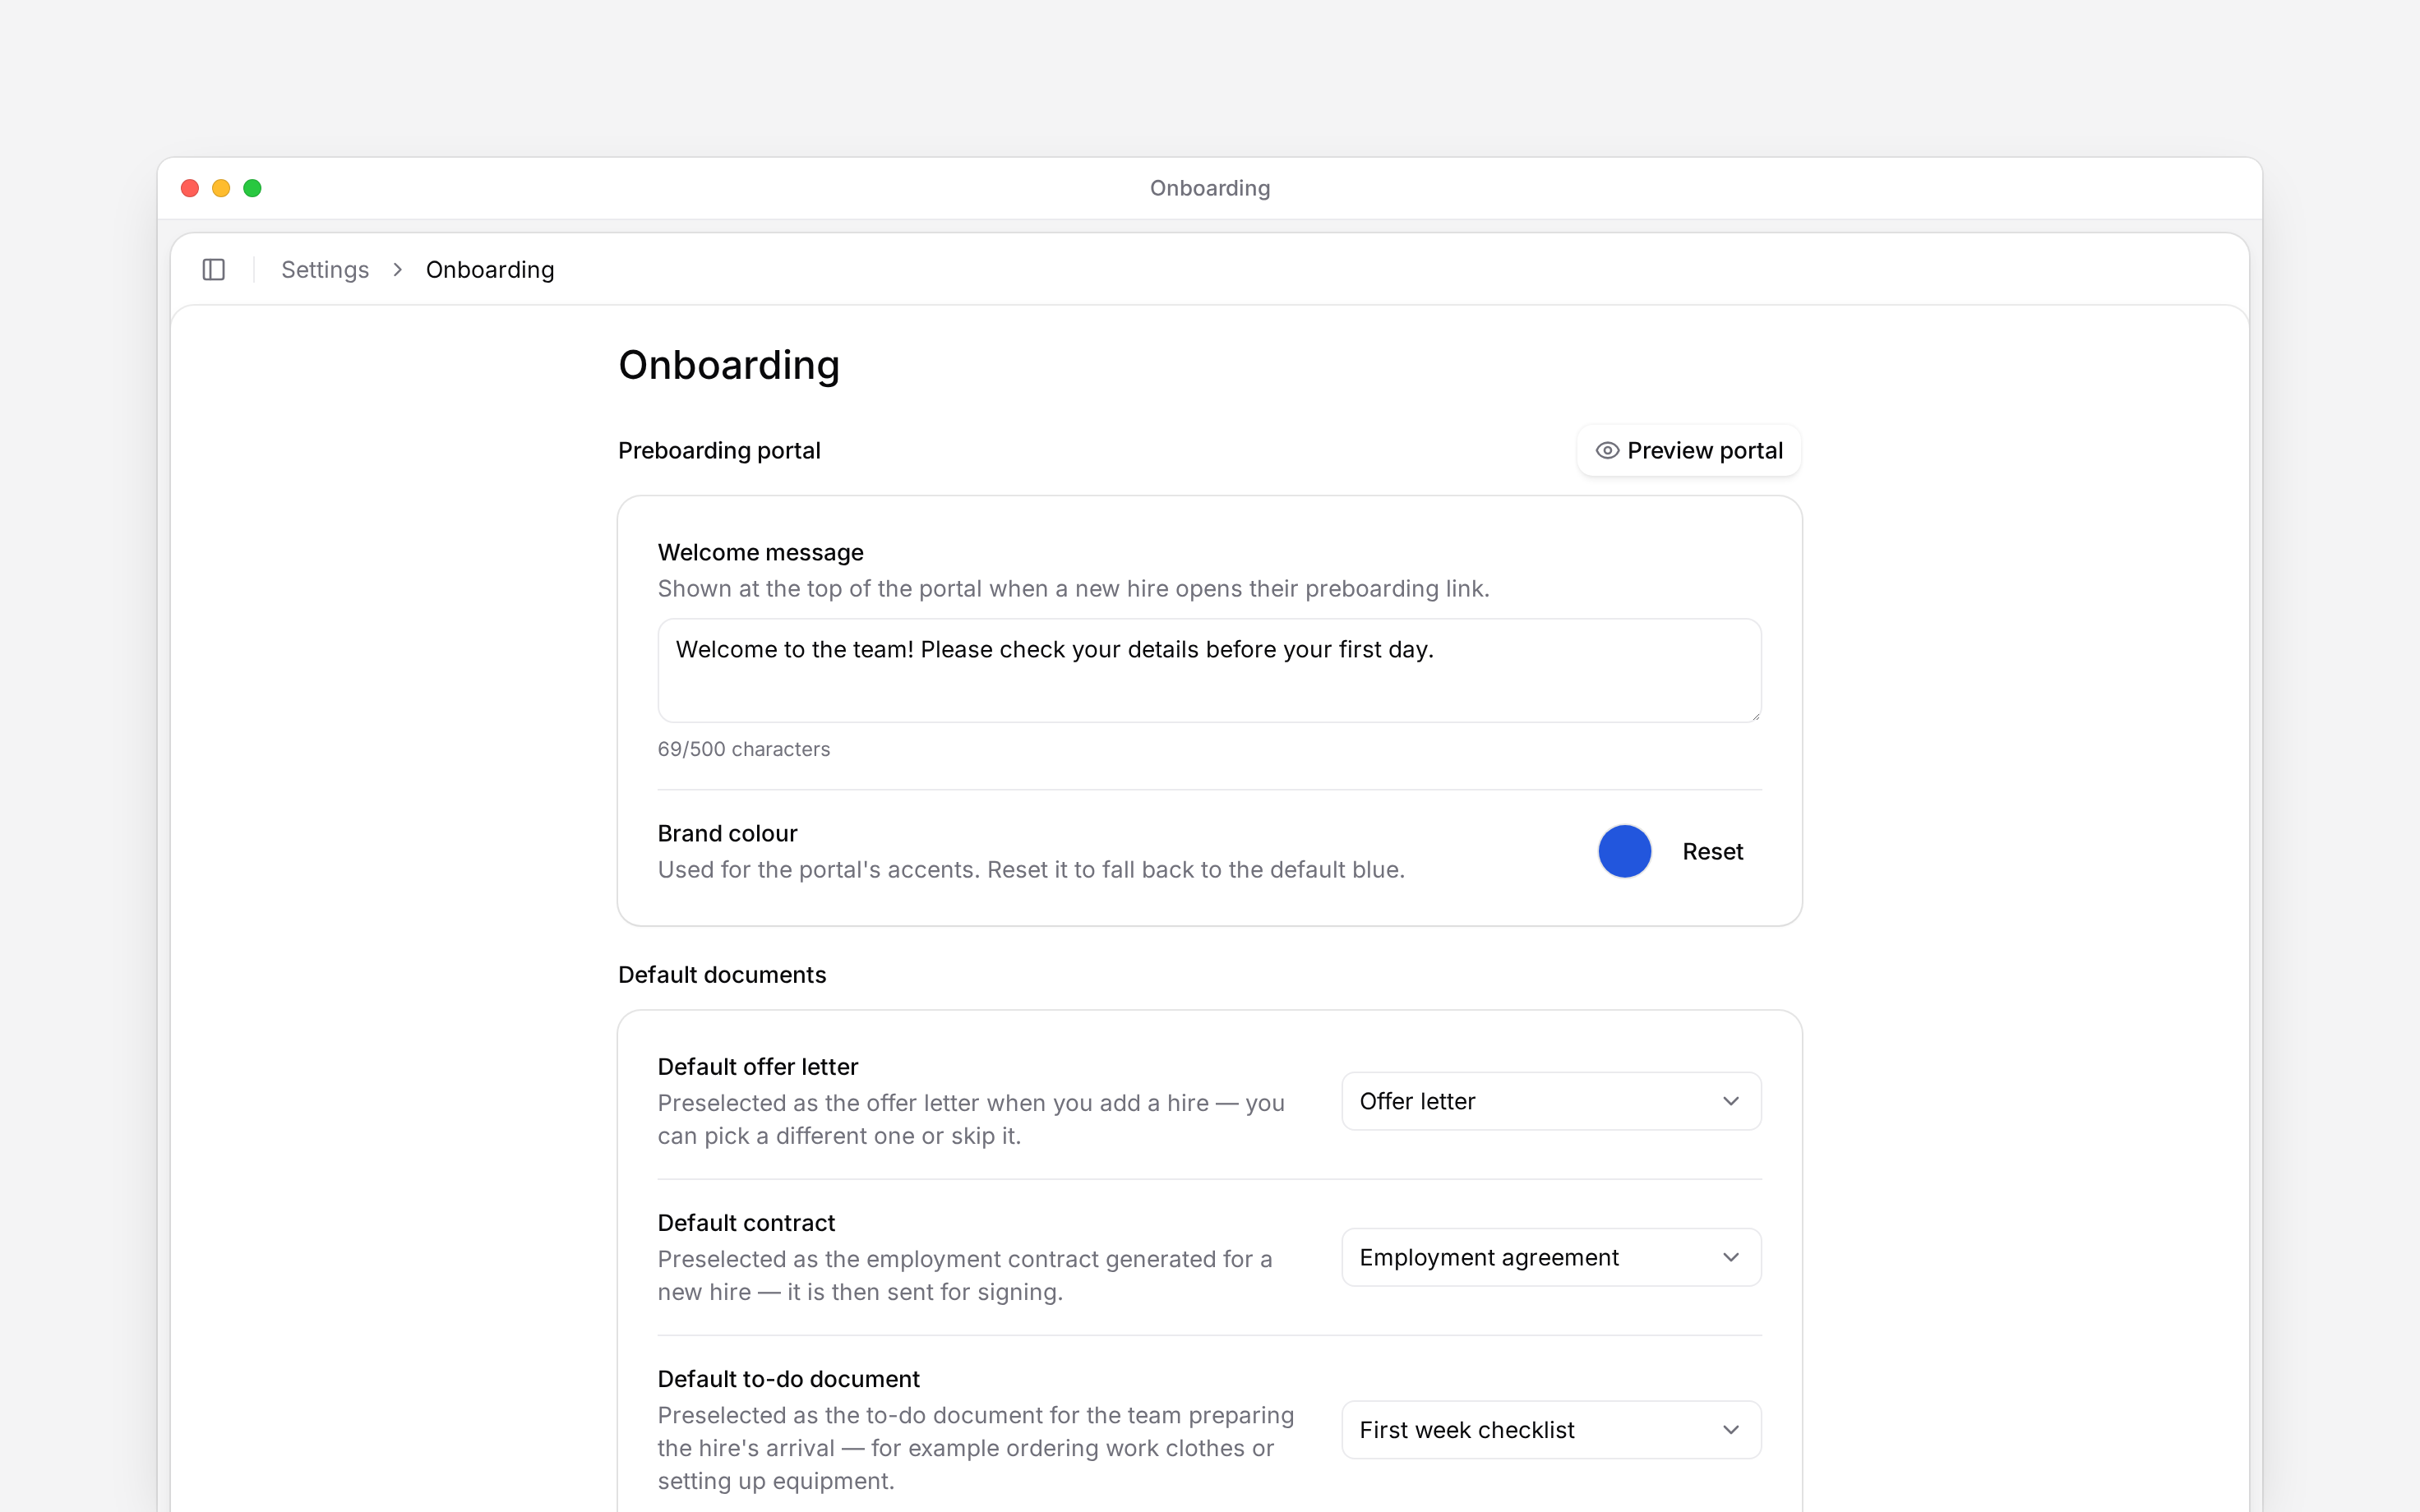
 Set up Settings → Onboarding before your team starts adding new hires. These settings choose the documents offered during hiring and the welcome message and colour shown in the preboarding portal.
You need Onboarding settings for your role; Manager has it by default. Permission to add people does not grant this access. A hiring manager can still use the configured defaults without being able to change workspace settings.
Set up Settings → Onboarding before your team starts adding new hires. These settings choose the documents offered during hiring and the welcome message and colour shown in the preboarding portal.
You need Onboarding settings for your role; Manager has it by default. Permission to add people does not grant this access. A hiring manager can still use the configured defaults without being able to change workspace settings.
Choose the default documents
Under Default documents, choose the starting templates for each new hire:
Each selection saves immediately. Wait for Document defaults saved before leaving. Choose None to clear a default. This removes the preselection; it does not delete the template.
The hiring flow lets you review the selected documents for the individual hire. Check them before sending anything. A default is a starting choice, not evidence that an offer was accepted, a contract was signed or a task was completed.
Make a missing template available
Create or edit it in Document templates. Each picker shows templates suitable for that purpose. An offer needs the Offer letter category. Use an Employment agreement for the contract, and a non-contract document such as a Policy or Other template for the to-do document. A folder is not a selectable document. Offer and termination-letter templates do not belong in the default-contract slot. A contract template cannot be the to-do document. The to-do document is for internal preparation, such as ordering work clothes or setting up equipment. It is separate from the details the new hire submits through their preboarding link.Personalise the portal
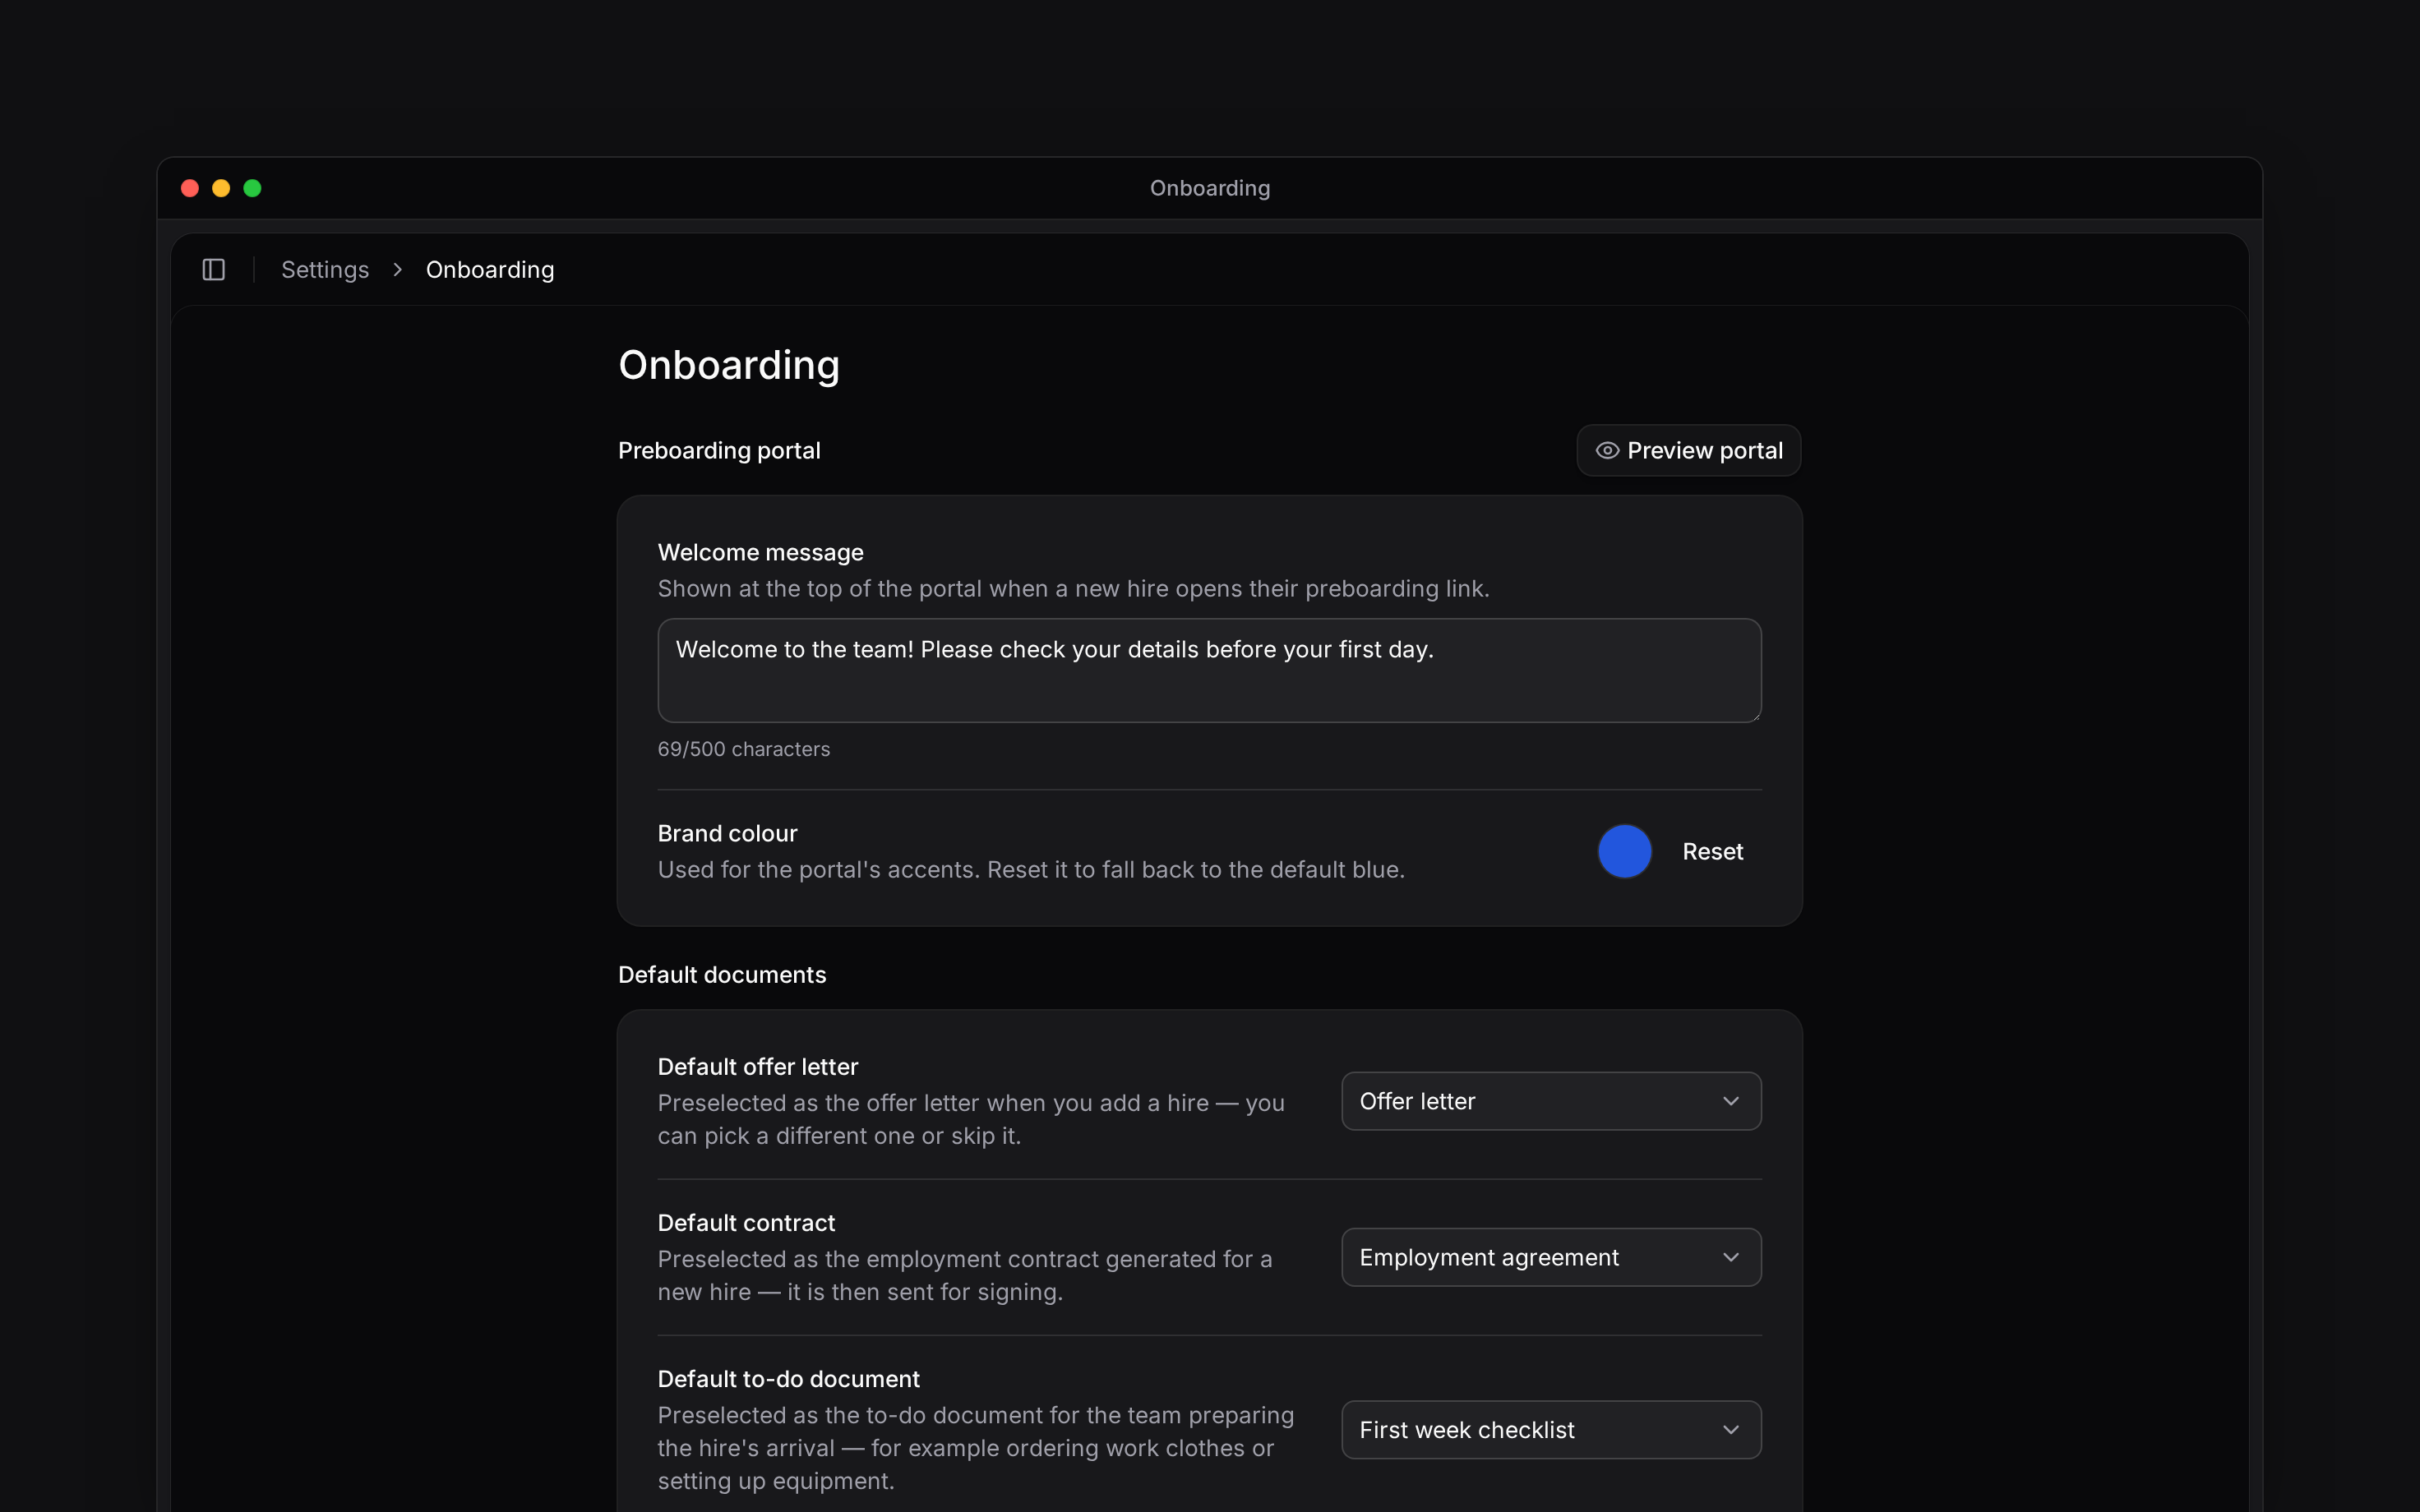
Under Preboarding portal, enter a Welcome message of up to 500 characters. It appears at the top of the portal when a new hire opens their link. Clear it to remove your custom message. Choose Brand colour from the palette or enter a complete six-digit hex colour, such as#2256DD. Reset restores the default blue. An incomplete or invalid colour is not saved.
The message and colour save automatically after you finish editing. Wait for Portal settings saved before navigating away; there is no separate Save button.
Preview before inviting someone
Choose Preview portal to check the saved message and colour in the portal layout. The preview uses sample hire details, so you can inspect it without opening a real person’s record or sending an invitation. Then follow Onboarding a new hire to prepare an actual hire. The preboarding link collects their details; the invitation to sign in to Begin is a separate step.Next
Onboarding a new hire
Use the defaults for a real new starter.
Managing document templates
Prepare the documents the hiring flow uses.
Still need help?
Contact support
Email the Begin team and we’ll get back to you.
Ask Begin AI
Open the AI assistant and get instant answers based on these docs.